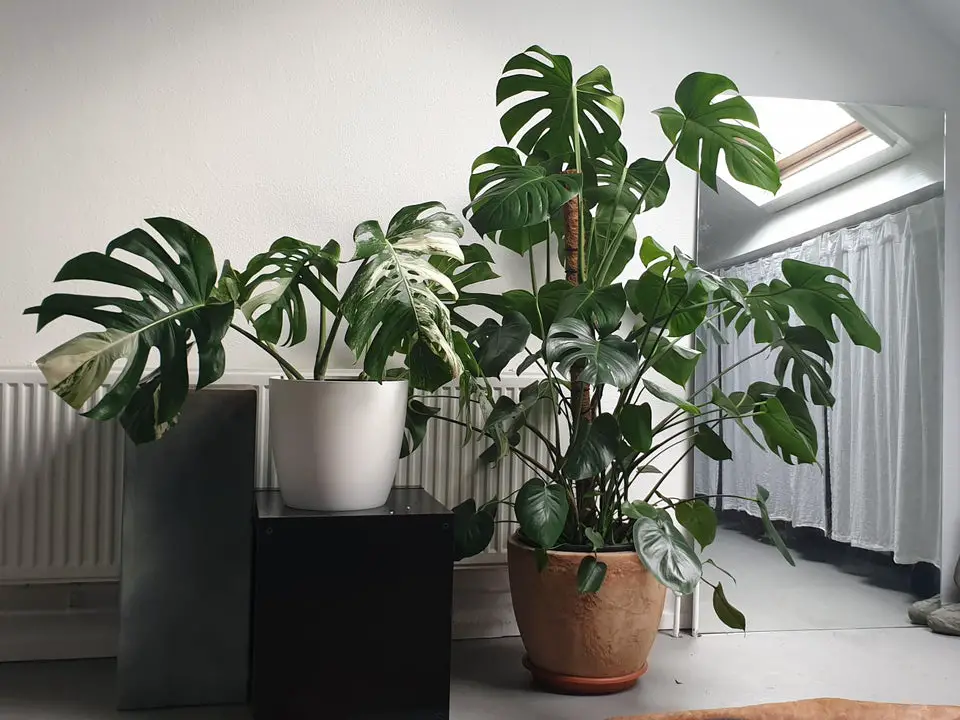
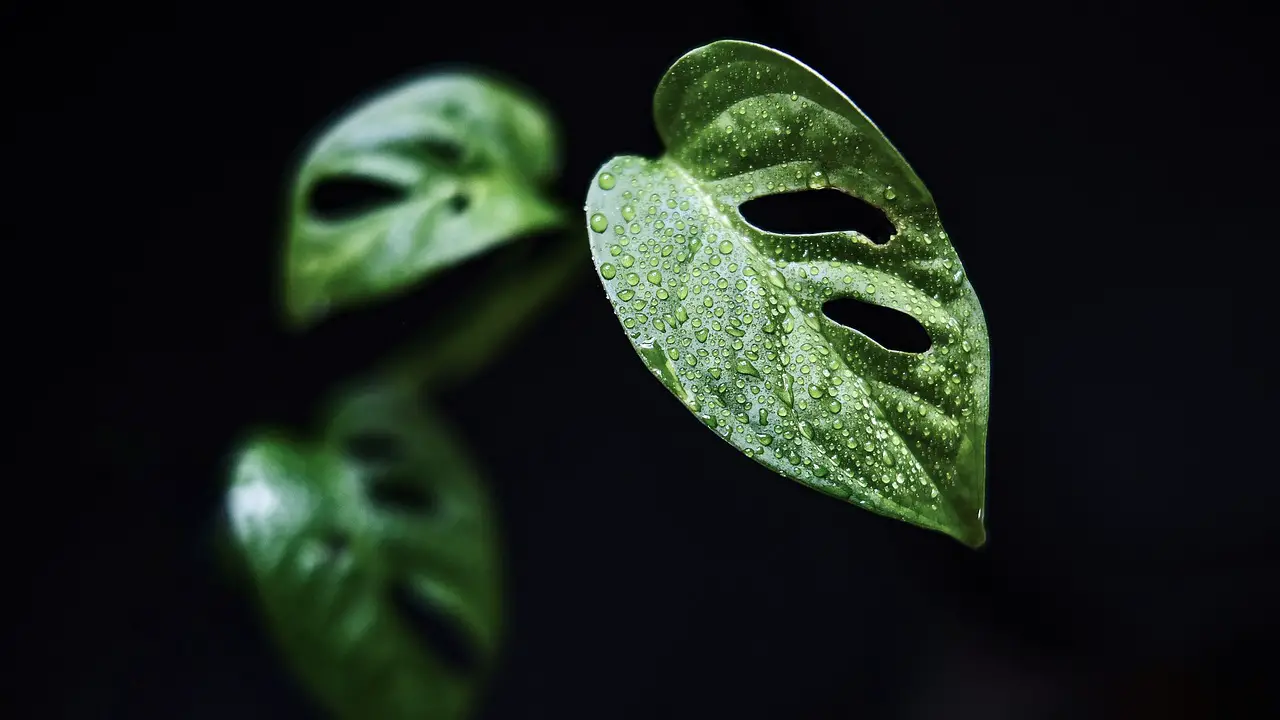
Monstera plants are popular for their large, tropical leaves and easy-to-care-for nature. One of the most exciting aspects of owning a monstera plant is the ability to propagate and grow new plants from cuttings. In this article, we will provide a beginner’s guide on how to propagate monstera, including step-by-step instructions and tips for success.
Why Propagate Monstera?
There are a few reasons why someone might want to propagate their monstera plant. First and foremost, it can be a fun and rewarding way to grow your collection of plants without having to purchase new ones. Additionally, propagating your monstera can help you maintain the size and shape of your plant, or even improve its health by removing diseased or damaged sections.

When to Propagate Monstera?
The best time to propagate your monstera is during the spring or summer months when the plant is actively growing. This will give the cuttings the best chance of successfully rooting and growing. It is also essential to make sure that your monstera is healthy and free from any diseases or pests before taking cuttings.
How to Propagate Monstera?
Propagating monstera can be done in a few different ways, including using stem cuttings, division, or air layering. Below, we will provide step-by-step instructions for propagating monstera using stem cuttings.
Step 1: Choose a Healthy Plant
Choose a healthy monstera plant with at least one mature leaf and stem. Make sure that the plant is free from any diseases or pests.
Step 2: Prepare Your Tools
You will need a few tools to take your cuttings, including a sharp, clean pair of pruning shears and a clean container filled with water.
Step 3: Take Your Cuttings
Locate a healthy stem on your monstera and use your pruning shears to make a clean cut just below a node (the small bumps on the stem where leaves and roots form). Make sure that your cutting is at least 6 inches long and includes at least one mature leaf.
Step 4: Remove Lower Leaves
Remove the lower leaves from your cutting, leaving only one or two at the top. This will help the cutting focus its energy on growing new roots instead of supporting leaves.
Step 5: Place Cutting in the Water
Place your cutting in a clean container filled with water, making sure that the stem is submerged but the leaf is not. Change the water every few days to keep it fresh and oxygenated.
Step 6: Wait for Roots to Form
After a few weeks, you should see roots forming from the bottom of your cutting. Once the roots are at least an inch long, you can transplant your cutting into the soil.
Tips for Success
Here are a few tips to help ensure success when propagating your monstera plant:
- Choose a healthy plant with at least one mature leaf and stem.
- Use clean, sharp pruning shears to make your cuttings.
- Remove lower leaves to encourage root growth.
- Change the water in your container every few days to keep it fresh and oxygenated.
- Transplant your cuttings into the soil once the roots are at least an inch long.

Frequently Asked Questions
Q: How long does it take for monstera cuttings to root? A: It can take anywhere from a few weeks to a few months for monstera cuttings to root, depending on the conditions and method used.

