Orchid Pruning Techniques – The Way To Do It

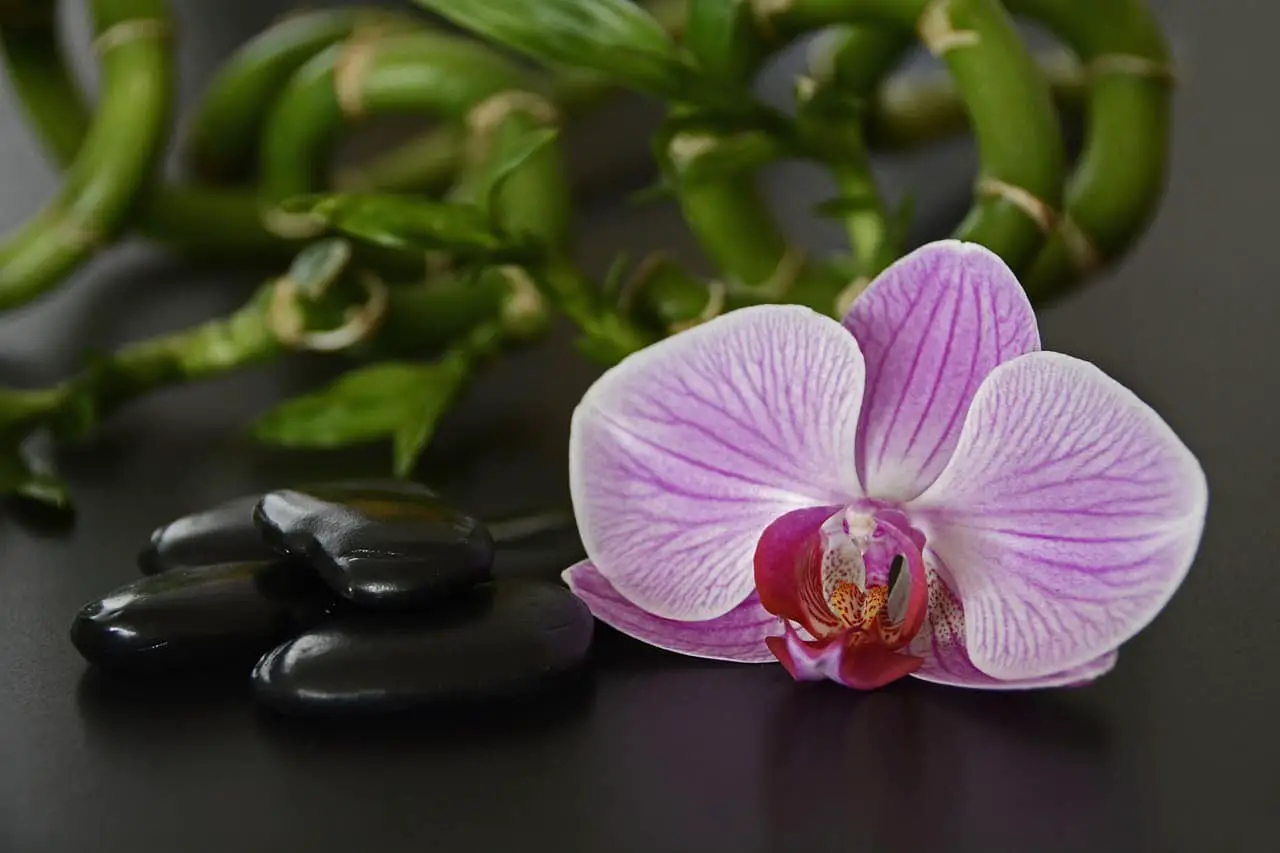
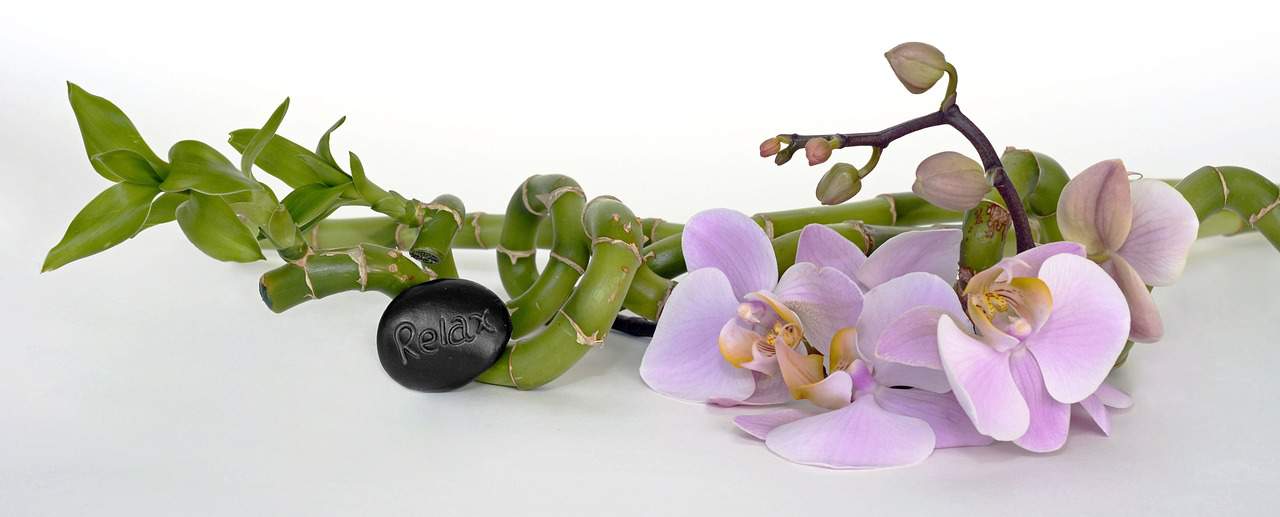
orchid, blossoms, pink-2708538.jpg
Home » Flowers & Trees

Orchid pruning, a critical aspect of orchid care, is often surrounded by apprehension and uncertainty. Mastering the art of pruning is essential for maintaining the health and beauty of these exquisite plants. This article delves into various techniques of orchid pruning, from trimming roots to caring for the plant post-flowering. Understanding these methods not only ensures the longevity of your orchids but also enhances their blooming potential, making your gardening experience both rewarding and enjoyable.


Orchid Pruning Techniques

Pruning orchids is essential for their health and aesthetic appeal. The primary goal is to remove dead or damaged parts, which helps prevent disease and stimulates new growth. The best time to prune is immediately after blooming when the orchid enters its resting phase. Use sterilized scissors or pruning shears, and make clean cuts to avoid damaging the plant. It’s important to prune any yellow or brown leaves, as well as dead stems. For flowering orchids, cutting back the spike to the node below the lowest flower can encourage a second bloom.
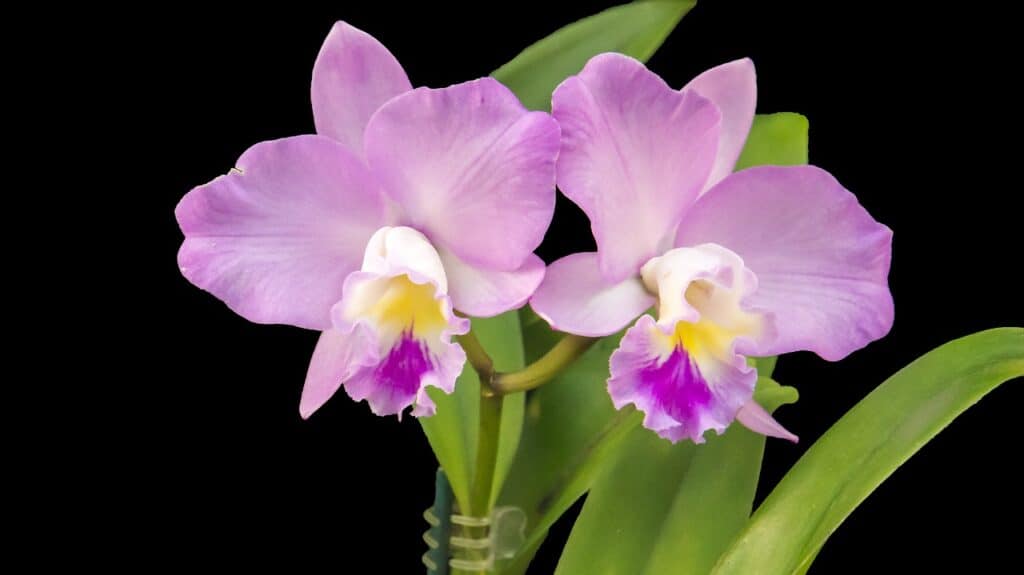
orchid, purple orchid, garden-213171.jpg

How to Prune Orchid Roots

Healthy roots are vital for a thriving orchid, and pruning them is a delicate task. Root pruning should be done during repotting, which is typically every two to three years. Remove the orchid from its pot and gently shake off the old potting medium. Inspect the roots and trim away any that are rotten, mushy, or dried out, using sterilized cutting tools. It’s crucial to leave healthy green or white roots intact. After pruning, repot the orchid in fresh potting medium, ensuring not to bury the crown of the plant.

How to Prune Orchids After Flowering

Post-flowering care is critical for orchids. Once the flowers fall, assess the spike. If it’s still green, cut it above a visible node, leaving at least two nodes on the stem. This might stimulate a secondary bloom. If the spike is brown and dry, cut it down at the base. After pruning, focus on providing the right care during the orchid’s resting phase – adequate light, humidity, and reduced watering. This rest period is vital for the orchid to gather energy for the next blooming cycle.
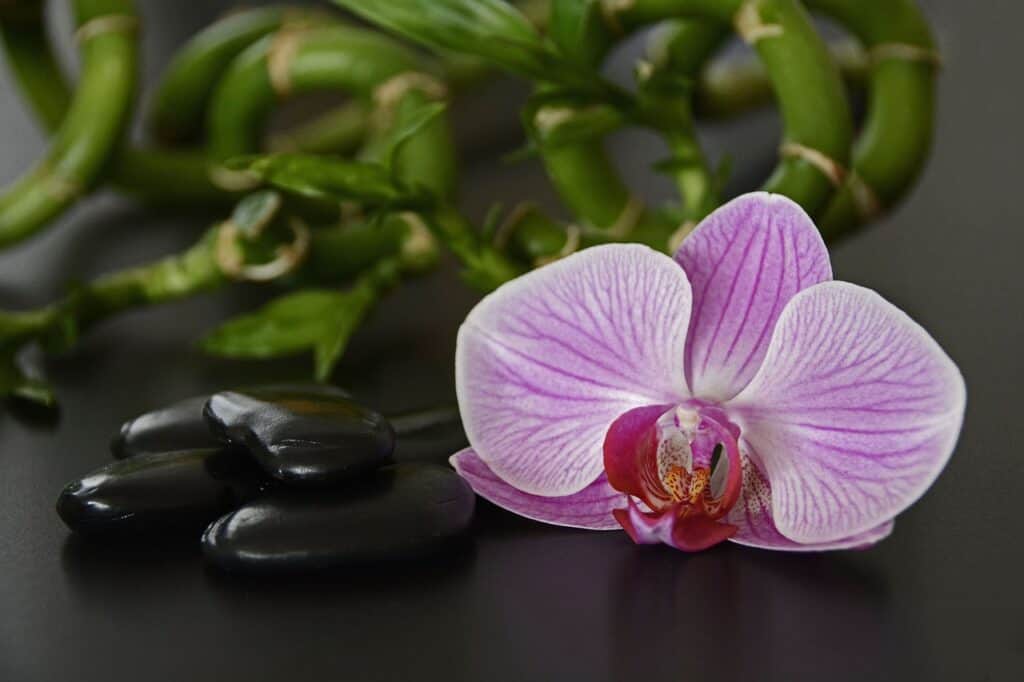
orchid, blossoms, pink-2708538.jpg

Double Spike Orchid Trimming

Double spike orchids, which produce two flower spikes, require special attention during pruning. If both spikes are healthy, you can choose to prune one spike for a second bloom while allowing the other to die back naturally. This method can extend the blooming period. If one spike starts to yellow or wilt, prune it back to the base, leaving the healthy spike. Always use sterilized tools for trimming to prevent the spread of disease.

Related FAQs

Q: When is the best time to prune orchids?
The ideal time for pruning orchids is after the blooming period, during the plant’s resting phase.

Q: How often should orchids be pruned?
Orchids should be pruned as needed, typically after each flowering cycle and during repotting for root pruning.

Conclusion

Pruning is a vital aspect of orchid care, crucial for their health and flowering success. Whether it’s trimming roots, cutting back spent flower spikes, or caring for double spike orchids, each step in the pruning process plays a role in the plant’s lifecycle. With the right techniques and a gentle touch, gardeners can ensure their orchids remain vibrant and flourish year after year, bringing beauty and satisfaction to any indoor garden.
Peaches Smell Like Cat Pee – Here’s What To Do

peach, fruit, food-1074997.jpg
Home » Flowers & Trees

Fruits are celebrated for their delightful aromas, often evoking thoughts of sweetness and freshness. However, in the intricate world of fruit scents, there lies a peculiar anomaly: some peaches possess an odor oddly reminiscent of cat pee. This intriguing scent profile has baffled both fruit enthusiasts and casual consumers alike. How can a fruit so commonly associated with succulence and sweetness emit such an unusual smell?

Peaches Smell Like Cat Pee

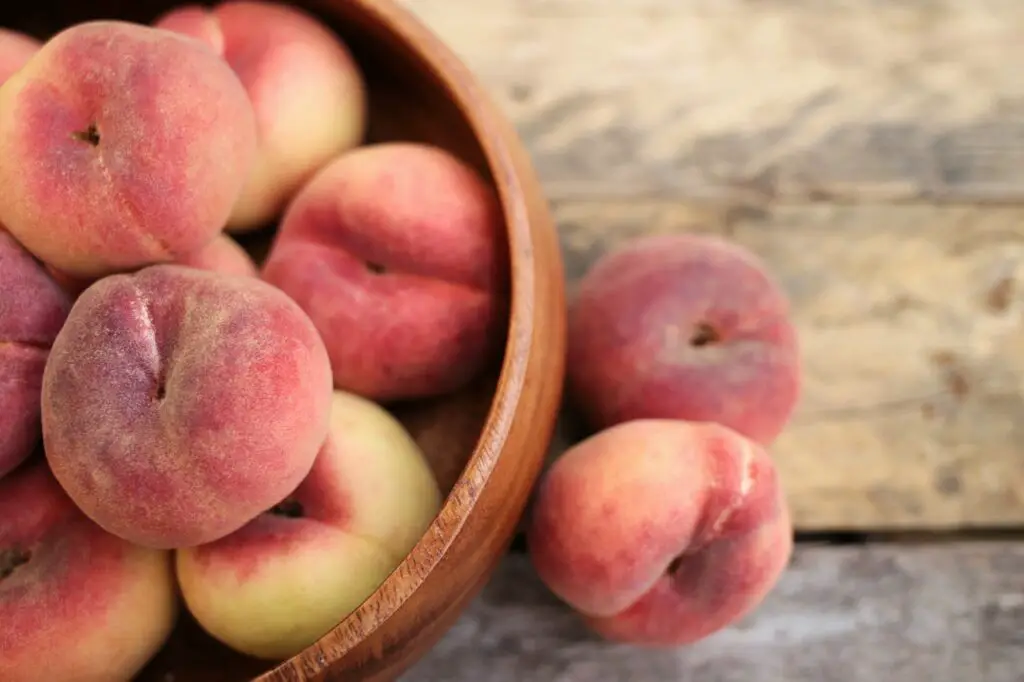
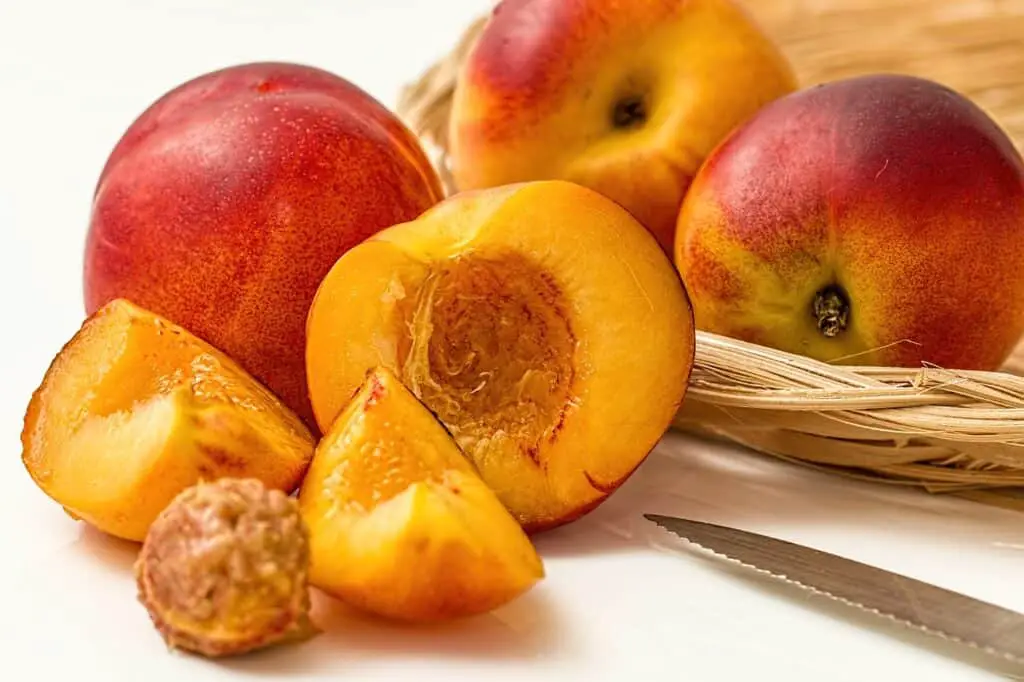
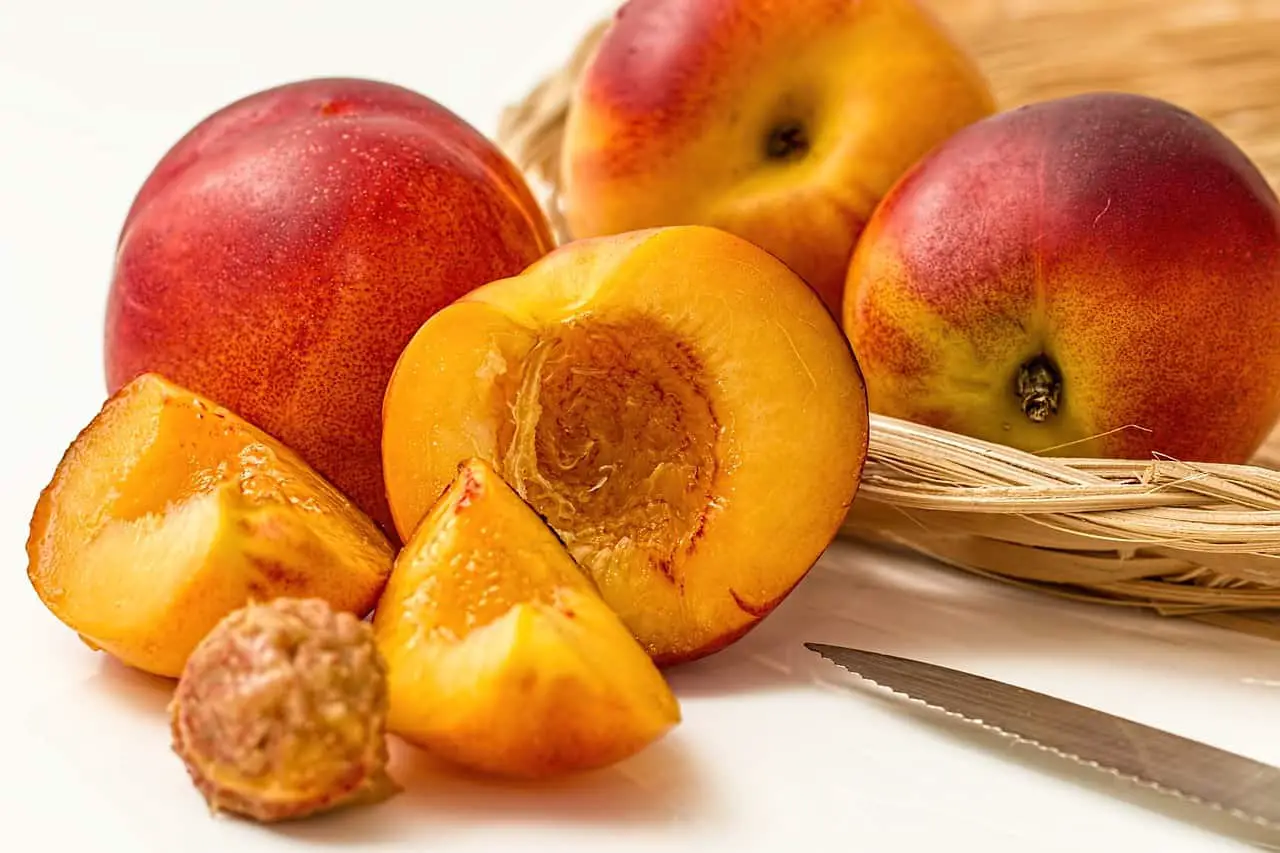
The aroma of peaches is generally associated with a sweet and pleasant fragrance. However, there’s an intriguing phenomenon where some peaches are reported to emit an odor that is strangely similar to cat pee. This unusual comparison arises from the presence of certain volatile organic compounds in peaches. Compounds like ammonia, which is also present in cat urine, can be released during the breakdown of amino acids in overripe or decaying peaches. Additionally, mercaptans, sulfur-containing compounds known for their potent and distinctive smell, can also be a contributing factor. This phenomenon is more noticeable in certain varieties of peaches and under specific storage conditions.

peach, nectarine, fruit-3314679.jpg

Peach Monster Smells Like Cat Pee

In exploring the unique world of fruit aromas, the “Peach Monster” has been a topic of interest due to its distinctive smell, often likened to cat pee. This term may refer to a particular variety of peach or a peach-based product that exhibits this strong, unusual odor. The reason behind this smell is similar to that of regular peaches. Volatile compounds, changes occurring during ripening, and the presence of specific enzymes can all contribute to producing this peculiar scent. Understanding the science behind these smells can be fascinating, as it reveals the complex interactions of natural compounds within fruits.

Bitter Peach Smell Like

Bitter peaches are another category that presents an interesting case in terms of aroma. The bitterness in some peaches is often due to the presence of certain compounds, like amygdalin, found in the seeds. This compound can influence the overall aroma of the peach, leading to a less sweet and more astringent or bitter smell. Additionally, the ripeness level of the peach plays a crucial role in its scent. Unripe or overripe peaches can emit aromas that differ significantly from those of perfectly ripe peaches, sometimes leading to a more bitter, less appealing smell.

Why Does Passion Fruit Smell Like Cat Pee

The comparison of smells between passion fruit and cat pee is another intriguing aspect of fruit aromas. Passion fruit, known for its strong and exotic fragrance, contains several volatile compounds that can evoke a wide range of sensory responses. Similar to peaches, the presence of compounds like ammonia or sulfur-based chemicals can contribute to a smell that some people find reminiscent of cat pee. The intensity of this smell can vary based on the ripeness and variety of the passion fruit, as well as individual olfactory perception.

peach, fruit, food-1074997.jpg

Related FAQs

Q: Is the smell of cat pee in peaches a sign of spoilage?
While an unusual odor in peaches can be off-putting, it is not always an indication of spoilage. It’s important to look for other signs like texture and color changes.

Q: Can washing peaches reduce the cat pee smell?
Rinsing peaches under water can help remove some surface compounds that contribute to the smell, but it might not completely eliminate it.

Q: Are peaches with a cat pee smell safe to eat?
Yes, these peaches are generally safe to eat as the smell is due to natural compounds and not harmful bacteria or chemicals.

Conclusion

The perception of peaches smelling like cat pee, as well as similar aromas in other fruits like passion fruit, highlights the complexity of natural fruit aromas. These scents are influenced by various factors, including the presence of certain organic compounds, ripeness, and storage conditions. Understanding these factors can provide insights into the fascinating world of fruit aromas, although they may sometimes challenge our conventional expectations of how fruits should smell.

How To Care For Orchid Spikes

stones, black, orchid-1341223.jpg
Home » Flowers & Trees

Orchids are renowned for their captivating beauty, and one of the most mesmerizing aspects of these plants is the majestic orchid spike. These towering stems adorned with stunning flowers are the crowning glory of orchids. Caring for orchid spikes is essential to ensure their longevity and vibrant appearance. In this article, we will explore the art of orchid spike care, addressing common questions and related search queries that often arise when tending to these exquisite floral displays.

How To Care For Orchid Spikes

Pruning and Trimming Orchid Spikes:

One of the essential aspects of orchid spike care is knowing when and how to trim and prune them. Here are some tips related to this practice:

  • Pruning After Blooming: After your orchid’s spike has finished blooming and the flowers have fallen off, you can prune it. Look for a node or eye below the point where the flowers were attached and make a clean cut just above it. This can encourage the orchid to produce a new spike or branch.
  • Managing Height: If your orchid spike is becoming too tall or unstable, you can trim it down to a manageable size. However, be cautious when doing this, as it may not produce new flowers from the pruned portion.

Supporting Orchid Spikes:

Ensuring your orchid spike remains upright and stable is crucial for its overall health and appearance. Here are some tips related to supporting orchid spikes:

  • Using Stakes and Clips: To support a tall or heavy spike, you can use stakes or support clips to secure it. Be gentle when attaching the support, as orchid spikes can be fragile. Adjust the support as the spike continues to grow.
  • Straightening Leaning Spikes: If your orchid spike is leaning to one side, gently guide it back to an upright position using stakes or ties. Be careful not to cause damage, and continue to provide support as the spike grows.
orchid, purple, purple orchid-288641.jpg

Pruning and Trimming Orchid Spikes

One of the essential aspects of orchid spike care is knowing when and how to trim and prune them. Here are some common questions and search queries related to this practice:

When should I prune my orchid spike?

  • After your orchid’s spike has finished blooming and the flowers have fallen off, you can prune it. Look for a node or eye below the point where the flowers were attached and make a clean cut just above it. This can encourage the orchid to produce a new spike or branch.

Can I trim my orchid spike if it’s getting too tall or top-heavy?

  • Yes, if your orchid spike is becoming too tall or unstable, you can trim it down to a manageable size. However, be cautious when doing this, as it may not produce new flowers from the pruned portion.

Supporting Orchid Spikes

Ensuring your orchid spike remains upright and stable is crucial for its overall health and appearance. Here are common questions and search queries related to supporting orchid spikes:

How do I support a tall or heavy orchid spike?

  • To support a tall or heavy spike, you can use stakes or support clips to secure it. Be gentle when attaching the support, as orchid spikes can be fragile. Adjust the support as the spike continues to grow.

My orchid spike is leaning to one side. What can I do to straighten it?

  • If your orchid spike is leaning, gently guide it back to an upright position using stakes or ties. Be careful not to cause damage, and continue to provide support as the spike grows.
stones, black, orchid-1341223.jpg

Feeding and Nourishing Orchid Spikes

Orchid spikes require proper nutrition to produce robust, long-lasting blooms. Here are common questions and search queries related to feeding and nourishing orchid spikes:

What kind of fertilizer should I use for my orchid spikes?

  • Use a balanced orchid fertilizer with equal parts nitrogen, phosphorus, and potassium (e.g., 20-20-20) to promote healthy spike growth and vibrant flowers. Follow the manufacturer’s instructions for application.

How often should I fertilize my orchid spikes?

  • Fertilize your orchid spikes every two to four weeks during the growing season. Reduce or suspend fertilization during the resting period, typically in late autumn and early winter.
massage, stones, reflection-599476.jpg

Conclusion: Elevating Your Orchid Spike Care

Orchid spikes are a marvel of nature, and caring for them is an essential part of orchid cultivation. Whether you’re nurturing a single orchid plant or have a collection of these exquisite blooms, knowing when to prune, how to support, and what nutrients to provide can make all the difference in the longevity and vibrancy of your orchid spikes.

With the right care, your orchid spikes will continue to enchant you with their beauty season after season. They are not only a testament to your green thumb but also a source of endless fascination and elegance in your home or garden. By mastering the art of orchid spike care, you can ensure that your orchids remain a stunning focal point in your botanical collection for years to come.
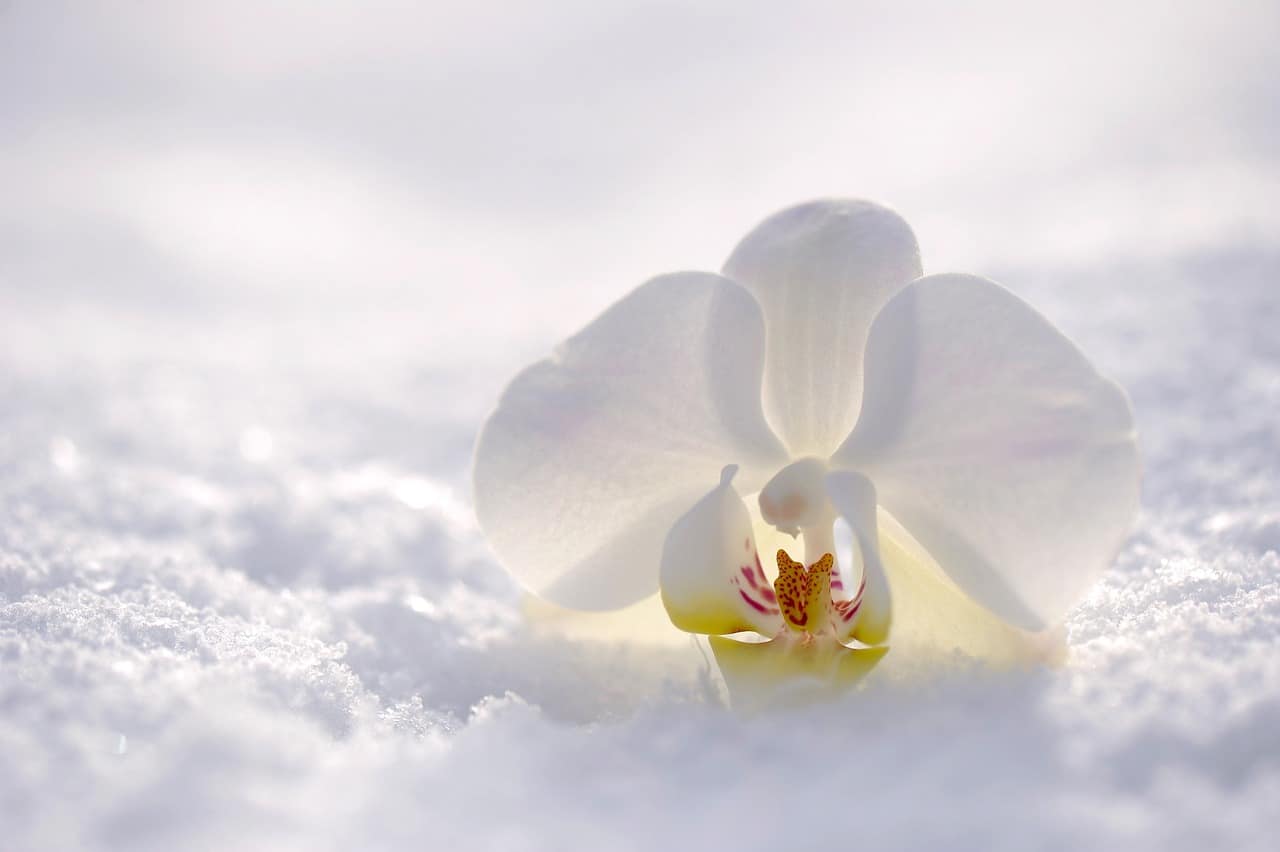
Orchid Winter Care Tips

orchids, orchid flower, beautiful flowers-4791797.jpg
Home » Flowers & Trees

Orchids are prized for their delicate beauty, but as winter approaches, their care demands special attention. The change in temperature, humidity, and light conditions can pose challenges for orchid growers. In this article, we will delve into essential orchid winter care tips, addressing common questions and related search queries that arise when preparing your orchids for the colder months.

Orchid Winter Care Tips

As winter approaches, orchid enthusiasts face the challenge of providing their delicate blooms with the care they need to thrive in less favorable conditions. The change in temperature, humidity, and light can significantly impact orchids, making winter care a crucial aspect of orchid cultivation. In this guide, we will explore essential orchid winter care tips to help you maintain healthy and vibrant orchids during the colder months.

One of the most critical aspects of winter orchid care is adjusting your watering routine. Here are some common questions and helpful tips related to this:

During the winter, the reduced light and lower temperatures slow down your orchid’s growth. As a result, you should water your orchids less frequently. Stick to the “water when dry” approach, allowing the potting medium to dry out slightly more between waterings. Be cautious not to overwater, as the cool, less humid conditions of winter can make your orchid’s roots more susceptible to rot.

While indoor heating systems can reduce humidity, misting may not be the most effective solution. Misting might create a moist environment that can lead to fungal issues. Instead, consider using a humidity tray, placing a container with water near your orchids, or using a humidifier to increase the moisture in the air around them.

orchids, orchid flower, beautiful flowers-4791797.jpg

Adjusting Watering Routines

Winter often means less humidity and lower temperatures, which can affect how you water your orchids. Here are common questions and search queries related to adjusting your watering routine during the winter:

How should I modify my orchid’s watering schedule in winter?

  • During winter, it’s essential to reduce the frequency of watering. Orchids should be allowed to dry out slightly more between waterings. Stick to a “water when dry” approach and be cautious not to overwater, as this can lead to root rot in the cooler, less humid conditions of winter.

Should I mist my orchids more often in winter due to lower humidity?

  • While it’s true that indoor heating can lower humidity, misting might not be the most effective solution. Instead, consider using a humidity tray, placing a container with water near your orchids, or using a humidifier to increase the moisture in the air around them.

Providing Adequate Light

Winter months often bring reduced daylight hours, which can impact orchid health. Here are common questions and search queries related to providing adequate light during the winter:

How can I ensure my orchids receive enough light in the winter?

  • To compensate for reduced natural light, consider moving your orchids closer to windows where they can access as much bright, indirect light as possible. You can also use artificial grow lights to supplement their light requirements.

Should I adjust the orchid’s positioning due to the changing angle of the sun in winter?

  • The lower angle of the winter sun can influence the amount and intensity of light that reaches your orchids. Be attentive to how the light falls and adjust the position of your orchids accordingly to ensure they receive optimal light throughout the day.
orchid, plant, flower-5401574.jpg

Temperature Considerations

Winter brings colder temperatures that can be detrimental to orchids if not managed properly. Here are common questions and search queries related to maintaining the right temperature conditions for your orchids:

What’s the ideal temperature range for orchids in the winter?

  • Most orchids thrive in a daytime temperature range of 60-80°F (15-27°C) and a nighttime drop of about 10-15°F (5-8°C). Ensuring this temperature differential can help induce flowering in many orchid species.

How do I protect my orchids from cold drafts and freezing temperatures?

  • Be vigilant against drafts and extreme cold. Ensure that your orchids are not exposed to chilly windowsills, and move them away from any sources of cold air. In cases of severe cold, consider using additional insulation or heating.
flower, orchid, purple flower-4725816.jpg

Conclusion: Winter Wellness for Your Orchids

Orchid winter care demands careful attention to watering, light, and temperature. By adjusting your care routine to accommodate the specific needs of your orchids during the colder months, you can help them flourish despite the challenges winter may present. Orchid enthusiasts who are prepared and proactive in their winter care efforts are rewarded with healthy, vibrant orchids that continue to grace their living spaces with timeless elegance, even in the heart of winter.

Orchid Temperature Requirements: Creating the Perfect Climate

orchids, blossoms, flower-2055189.jpg
Home » Flowers & Trees

Orchids are renowned for their captivating beauty and exotic allure, but they also have specific temperature requirements that are crucial for their well-being. Orchid temperature needs vary by species, and understanding these requirements is essential for successful cultivation. In this article, we will explore orchid temperature requirements, delving into common questions and addressing related search queries that often arise in the world of orchid care.

The Importance of Orchid Temperature Requirements

One of the key aspects of orchid care is providing the right temperature range for your orchids. Different orchid species originate from various climate zones, and understanding these temperature preferences is vital. Here are some common questions and search queries related to orchid temperature ranges:

orchids, blossoms, flower-2055189.jpg

What temperature range do most orchids prefer?

  • The majority of orchids thrive within a temperature range of 60-80°F (15-27°C) during the day, with a drop of about 10-15°F (5-8°C) at night. This day-night temperature differential is crucial for triggering blooming in many orchid species.

Are there orchids that require cooler temperatures?

  • Yes, some orchids, like Cymbidiums and Masdevallias, originate from cooler regions and prefer daytime temperatures around 50-70°F (10-21°C) with a significant drop at night. These cooler temperatures are necessary for these orchids to thrive and flower.

Managing Temperature Variations

Maintaining the right temperature for orchids can be challenging, but it’s essential to provide the best growing conditions. Here are common questions and search queries related to managing temperature variations:

How can I create the ideal temperature for my orchids?

  • Orchid enthusiasts often use various methods to maintain the right temperature, such as adjusting the location of the orchids within the home, using temperature-regulating devices, and choosing suitable orchid species for their local climate.

What should I do if my climate doesn’t match my orchid’s preferences?

  • If your local climate doesn’t align with your orchid’s temperature requirements, consider using a greenhouse or an indoor growing space with controlled temperature and humidity. Additionally, explore orchid species that naturally thrive in conditions similar to your local climate.
flower, flora, orchids-7203048.jpg

Dealing with Extreme Temperatures

Orchids can be sensitive to extreme temperatures, and understanding how to protect them is essential. Here are common questions and search queries related to dealing with extreme temperature conditions:

How do I protect my orchids from extreme heat?

  • During hot weather, it’s crucial to provide adequate shade, increase humidity, and use fans or evaporative cooling to prevent orchids from overheating. Watering may need to be adjusted to keep the roots from drying out.

How can I safeguard my orchids from freezing temperatures?

  • Orchids are highly susceptible to frost and freezing conditions. Protect them by bringing them indoors during cold spells or using frost cloth, blankets, or an orchid house to shield them from freezing temperatures.
orchids, blue, flowers-4759196.jpg

Conclusion: Orchid Temperature Care for Flourishing Blooms

Understanding and managing orchid temperature requirements is a fundamental aspect of orchid care. Providing the right temperature conditions is key to encouraging healthy growth, vibrant foliage, and exquisite blooms. Whether you’re nurturing tropical orchids in warm, humid climates or tending to cool-growing orchids in temperate regions, the ability to adjust and regulate temperature is the key to orchid success. With dedication and a keen awareness of your orchid’s temperature needs, you can create the perfect climate for your orchids to thrive and grace your living space with their timeless elegance.

Orchid Yellow Leaves: Causes and Solutions

orchid, plant, flower-5401574.jpg
Home » Flowers & Trees

Orchids are known for their captivating beauty, but when their lush green leaves turn yellow, it can be a cause for concern among growers. In this article, we’ll explore the reasons behind orchid yellow leaves and offer practical solutions to help you restore your orchids to their vibrant, healthy state. We’ll address common questions and related search queries that frequently emerge when dealing with this issue.

How To Deal With Yellow Orchid Leaves

Dealing with orchid yellow leaves can be a common concern among orchid growers. Yellowing leaves are often a sign that something is amiss with your orchid’s care. Here’s a step-by-step guide on how to address this issue.

The first step in addressing yellowing orchid leaves is to determine the underlying cause. Orchid leaves can turn yellow for various reasons, so you need to diagnose the problem correctly. Common causes include:Overwatering: Excess water can lead to root rot and yellowing leaves. Make sure your orchid’s pot has proper drainage, and allow the top inch or two of the potting medium to dry out before watering again.

Underwatering: Orchids need consistent moisture. If they’re not getting enough water, the leaves can turn yellow and become wrinkled. Water your orchid thoroughly when the potting medium is slightly dry. Improper Lighting: Orchids require the right amount of light. Too much or too little light can cause leaf discoloration. Provide bright, indirect light for most orchid varieties, but adjust based on your orchid’s specific requirements.

orchid, flower, blossom-3323149.jpg

Understanding the Causes of Yellowing Orchid Leaves

Before diving into solutions, it’s crucial to understand the underlying causes of yellowing orchid leaves. Let’s explore the common questions and search queries related to these causes:

What are the common reasons for orchid leaves turning yellow?

  • Orchid leaves may turn yellow due to various factors, including overwatering, underwatering, improper lighting, pests, disease, and natural leaf aging. Each of these factors can be responsible for the yellowing of orchid leaves.

Is it normal for orchid leaves to turn yellow over time?

  • Yes, it’s entirely normal for the lower leaves of an orchid to turn yellow and eventually drop off as part of the natural growth cycle. However, when multiple or upper leaves start to yellow, it’s usually a sign of an issue that needs attention.

Solutions for Dealing with Yellowing Orchid Leaves

Once you’ve identified the cause of yellowing leaves, it’s time to implement solutions to address the issue. Here are the common questions and search queries related to these solutions:

How to correct overwatering and underwatering issues?

  • Overwatering and underwatering are common culprits in orchid leaf yellowing. Correcting these issues involves adjusting your watering routine. Overwatered orchids should be allowed to dry out properly before watering again, while underwatered orchids should receive adequate moisture to prevent dehydration.

What should be done when orchids receive too much or too little light?

  • Orchids require the right balance of light. When they receive too much or too little light, their leaves can turn yellow. To correct this, adjust the placement of your orchids. Provide bright, indirect light and avoid direct sunlight, which can scorch the leaves. Assess your orchid’s lighting needs based on its species.
flowers, orchids, white-743373.jpg

Preventing and Treating Orchid Pests and Disease

Pests and diseases can also lead to yellowing orchid leaves. Here are the common questions and search queries related to preventing and treating these issues:

How to identify and control common orchid pests?

  • Orchids can fall victim to pests such as aphids, mealybugs, scale, and spider mites, which can lead to yellow leaves. Regularly inspect your orchids for signs of infestation and treat affected plants promptly with insecticidal soap or neem oil.

What are the common orchid diseases and their treatments?

  • Orchids can suffer from fungal and bacterial diseases, which may manifest as yellow spots or streaks on leaves. Good air circulation and proper care can help prevent these diseases. If your orchid shows signs of disease, isolate it and consider using fungicides or bactericides as recommended.
orchid, flower, plant-4848687.jpg

Conclusion: Restoring Your Orchids to Their Radiant Glory

Dealing with yellowing orchid leaves can be a challenge, but armed with an understanding of the causes and solutions, you can rejuvenate your orchids and restore them to their vibrant, healthy state. Regular care, proper watering, ideal lighting conditions, and vigilance against pests and diseases are key to ensuring your orchids’ lush green leaves remain a testament to their natural beauty. Remember that orchid care is an art, and with patience and dedication, you can enjoy thriving, green orchids that grace your living space with their timeless charm.

Best Orchid Fertilizer For Growth

orchid, orchid flower, bamboo-2115260.jpg
Home » Flowers & Trees

Orchid enthusiasts understand that proper fertilization is the key to achieving healthy, vibrant orchids. In this article, we’ll explore the world of orchid fertilizers for growth, answering common questions and addressing related search queries that are often encountered in the journey of orchid cultivation.

Best Orchid Fertilizer For Growth

When it comes to finding the best orchid fertilizer for promoting growth, there are several excellent options available. Orchids have specific nutrient requirements, and the right fertilizer can make a significant difference in their overall health and development. Here are some top recommendations for the best orchid fertilizers for growth:

  1. Schultz All Purpose Liquid Plant Food:
    • Schultz’s All Purpose Liquid Plant Food is a well-rounded and balanced fertilizer that works exceptionally well for orchids. It contains a balanced ratio of essential nutrients, including nitrogen (N), phosphorus (P), and potassium (K), which support both foliage and root growth. This liquid fertilizer is easy to apply and provides essential nutrients for robust orchid development.
  2. Miracle-Gro Orchid Plant Food Concentrate:
    • Miracle-Gro’s Orchid Plant Food Concentrate is a trusted brand known for its effectiveness in promoting orchid growth. It provides a balanced nutrient mix and is suitable for various types of orchids. This concentrated liquid fertilizer is easy to use and can be diluted to meet your orchid’s specific needs.
  3. Espoma Orchid! Liquid Plant Food:
    • Espoma’s Orchid! Liquid Plant Food is a specialized orchid fertilizer designed to meet the unique nutritional requirements of these plants. It contains a higher nitrogen level, which is beneficial for promoting lush foliage and root development. This liquid fertilizer is easy to apply and helps orchids thrive.
  4. Dyna-Gro Orchid-Pro Liquid Plant Food:
    • Dyna-Gro Orchid-Pro is another specialized orchid fertilizer that provides essential nutrients tailored to orchid growth. It contains higher nitrogen levels, ensuring vigorous root and leaf development. This liquid fertilizer is widely respected for its ability to support healthy orchids.
  5. Miracle-Gro Water Soluble Orchid Food:
    • For those who prefer a water-soluble fertilizer, Miracle-Gro offers a water-soluble Orchid Food that is easy to apply during regular watering. It provides essential nutrients for both growth and flowering, making it suitable for all stages of an orchid’s life.
  6. Grow More 5121 All-Purpose Premium Orchid Fertilizer:
    • The Grow More 5121 is a versatile orchid fertilizer that contains a balanced mix of nutrients to support orchid growth. It is easy to use and provides essential nourishment for healthy and vigorous orchids.

When choosing the best orchid fertilizer for growth, consider factors such as the specific needs of your orchid species, your preferred method of application (liquid or granular), and your routine. It’s essential to follow the recommended application instructions on the product label to ensure that your orchids receive the right amount of nutrients for optimal growth. Additionally, it’s a good practice to fertilize your orchids during their active growth periods, typically from spring through early autumn, and reduce or eliminate fertilization during their dormant phase.

orchid, flower, gold wall-2137992.jpg

Orchid Fertilization Basics

Before delving into the best orchid fertilizers, it’s crucial to understand the fundamentals of orchid fertilization. Here are some common questions and search queries that often emerge in this context:

Why do orchids need fertilizer for growth?

  • Orchids, like all plants, require essential nutrients for their growth and flowering. Fertilizers provide these nutrients in a balanced form, promoting robust root development, healthy foliage, and abundant blooms. Orchids, in particular, benefit from specialized orchid fertilizers that cater to their unique needs.

What are the essential nutrients for orchid growth?

  • Orchids require three primary macronutrients: nitrogen (N), phosphorus (P), and potassium (K). These nutrients support various aspects of orchid health, such as leaf development, root growth, and flower production. Additionally, micronutrients like iron, magnesium, and calcium are vital for orchid growth.

Selecting the Best Orchid Fertilizers for Growth

Choosing the right orchid fertilizer is crucial for achieving optimal growth. Here are some common questions and search queries related to selecting the best orchid fertilizers:

What is the difference between balanced and specialized orchid fertilizers?

  • Balanced orchid fertilizers contain equal or near-equal proportions of the three primary macronutrients (N, P, and K). Specialized orchid fertilizers are formulated to cater specifically to the needs of orchids. They often have a higher ratio of nitrogen, which supports leaf and root development, and a lower phosphorus ratio, which encourages flowering.

Are liquid or granular orchid fertilizers better for growth?

  • Both liquid and granular orchid fertilizers can be effective, and the choice often comes down to personal preference and the convenience of application. Liquid fertilizers are fast-acting and easily absorbed by orchids, while granular options provide slow-release nutrients. The right choice depends on your routine and the needs of your orchids.
orchid, orchid flower, bamboo-2115260.jpg

Top Orchid Fertilizer Recommendations for Growth

Now, let’s explore some of the top orchid fertilizers known for promoting robust growth. Common questions and search queries often revolve around specific product recommendations:

What is the best balanced orchid fertilizer for overall growth?

  • The choice of a balanced orchid fertilizer depends on personal preference and the availability of products in your area. Some reputable brands offer balanced orchid fertilizers suitable for all orchid types. Examples include Schultz Orchid Liquid Plant Food and Miracle-Gro Orchid Plant Food Concentrate.

Which specialized orchid fertilizers are ideal for growth?

  • When it comes to specialized orchid fertilizers, there are several trusted options. Espoma Orchid! Liquid Plant Food and Dyna-Gro Orchid-Pro Liquid Plant Food are known for their ability to support healthy orchid growth. These fertilizers contain higher nitrogen levels to promote robust foliage and root development.
orchid, flower, blossom-3323149.jpg

Conclusion: Elevating Orchid Growth with the Right Fertilizer

Orchid fertilizers are the secret to unlocking the full growth potential of these captivating plants. By understanding the essentials of orchid fertilization, selecting the right product that suits your orchid’s needs, and exploring top recommendations, you can embark on a journey of nurturing orchids to thrive. Whether you opt for balanced or specialized orchid fertilizers, the key is to provide your orchids with the essential nutrients they require for robust growth and an abundance of breathtaking blooms. With dedication and attention to detail, your orchids will flourish and bring natural beauty to your living space.

Orchid Mounting Techniques: Elevating Your Orchid Growing Skills

orchids, flowers, plant-6256963.jpg
Home » Flowers & Trees

Orchid Mounting Techniques

Orchid enthusiasts are often drawn to the elegance and uniqueness of mounted orchids. While potted orchids are the traditional choice, mounting orchids allows for a different aesthetic and growth experience. In this article, we will explore the world of orchid mounting techniques, addressing common questions and related search queries that often arise in the realm of orchid cultivation.

Understanding the Art of Orchid Mounting

Orchid mounting is more than a horticultural practice; it’s an art form that requires finesse and creativity. Here are some common questions and search queries that often surface when delving into orchid mounting:

plant, flower, orchid-6691763.jpg

What are the benefits of mounting orchids?

  • Orchid mounting offers a unique way to showcase these captivating plants. The main advantage is the visual appeal of seeing orchids seemingly growing naturally on various surfaces. It allows for better air circulation around the roots and can be especially suitable for orchid species that thrive in humid, epiphytic conditions. Mounting orchids can also provide a better view of their intricate root systems.

Which orchid species are best suited for mounting?

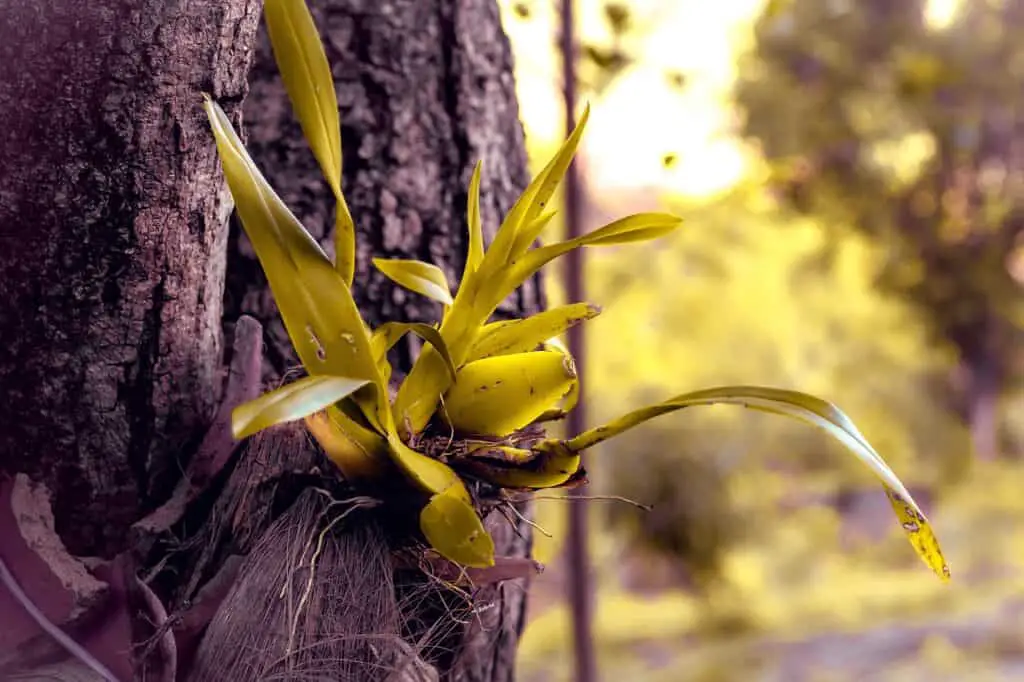
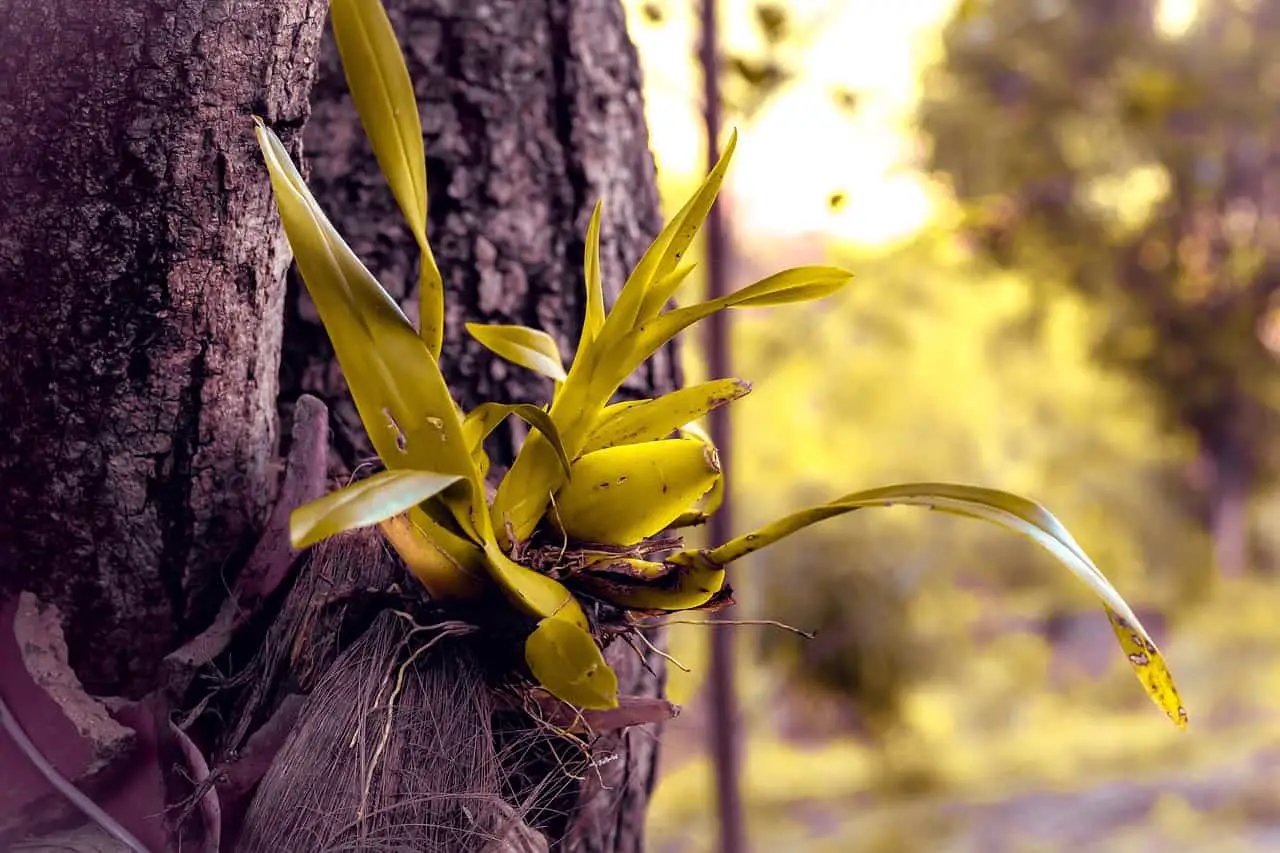
  • While most orchid species can be mounted, some are better suited for this technique. Epiphytic orchids, like many Oncidium, Dendrobium, and Phalaenopsis species, are often top choices for mounting. These orchids naturally grow on trees or other surfaces in their native habitats, making them adaptable to mounting techniques.

Essential Supplies and Techniques for Orchid Mounting

To successfully mount orchids, you’ll need the right supplies and techniques. Let’s address the questions and search queries that often arise in this category:

What supplies are needed for orchid mounting?

  • Orchid mounting requires a few key supplies, including suitable mounting materials (such as cork, tree fern, or driftwood), fishing line or wire, sphagnum moss, and specialized orchid potting mix. The choice of materials and tools may vary depending on the orchid species and the desired mounting effect.
orchids, blue, flowers-4759196.jpg

What are the best techniques for attaching orchids to mounts?

  • The techniques for attaching orchids to mounts can vary, but typically, you’ll secure the roots and base of the orchid to the chosen mount using fishing line or wire. Surrounding the roots with moist sphagnum moss helps to maintain humidity. Some orchid enthusiasts also use specialized orchid potting mix to secure the orchid to the mount. Each technique has its advantages, and the choice depends on your preferences and the needs of your orchids.

Caring for Mounted Orchids: Tips for Success

Once you’ve mounted your orchids, proper care is essential for their well-being. Common questions and search queries related to orchid care post-mounting often include:

How should I water mounted orchids?

  • Watering mounted orchids typically involves thoroughly soaking the mount and the orchid in a basin or under a gentle shower. Allow excess water to drain and ensure that the orchid dries within a few hours to prevent root rot. The frequency of watering depends on the orchid species, the ambient humidity, and temperature conditions.

What is the ideal light and temperature for mounted orchids?

  • The light and temperature requirements for mounted orchids can vary by species. In general, mounted orchids thrive in bright, indirect light. Placing them near a window with sheer curtains can provide the right balance. Temperature preferences vary by orchid species, so it’s essential to research the specific needs of your mounted orchids.
orchids, flowers, orange flowers-3778816.jpg

Conclusion: Orchid Mounting – A Creative and Rewarding Practice

Orchid mounting is a unique and rewarding technique that allows orchid enthusiasts to showcase these captivating plants in a distinctive way. By understanding the benefits, selecting suitable orchid species, acquiring the necessary supplies, and practicing proper care, you can embark on a creative journey that elevates your orchid-growing skills. Orchid mounting is not just about growing plants; it’s an artistic expression that adds a touch of nature’s beauty to your living space. With dedication and attention to detail, you can create a captivating orchid display that captivates all who behold it.

Orchid Growing Mistakes to Avoid for Thriving Orchids

orchid, flower, blossom-2952074.jpg
Home » Flowers & Trees

Orchids, with their captivating beauty and air of exotic charm, have long been the darlings of the plant world. Orchid cultivation can be a deeply rewarding pursuit, but it also presents its own set of challenges, especially for newcomers to this enchanting hobby. To ensure that your orchids thrive and bloom with radiant beauty, it’s important to steer clear of common growing mistakes. In this article, we’ll explore these pitfalls and provide guidance on how to avoid them, allowing your orchids to flourish in a healthy and nurturing environment.

flowers, plum blossom, spring-7144466.jpg

Orchid Growing Mistakes To Avoid

1. Proper Lighting: Orchids need the right balance of light, depending on their species. Avoid exposing them to too much or too little light, and research the ideal lighting conditions for your orchids.

2. Avoid Overwatering: Overwatering is a common mistake. Orchids require well-draining conditions, and you should let the top layer of the potting medium dry before watering again.

3. Humidity Levels: Maintaining proper humidity is vital for orchids, especially those from tropical regions. Use humidity trays, humidifiers, or regular misting to create the right environment.

4. Potting Medium Selection: Choosing the right potting medium is crucial. Options like sphagnum moss, bark, and perlite serve different purposes. Select the one that suits your orchid species.

5. Drainage Importance: Proper drainage is essential to prevent waterlogged roots and root rot. Use pots with drainage holes and ensure water doesn’t accumulate at the bottom.

6. Repot Sparingly: Orchids don’t require frequent repotting. Stick to a schedule of repotting every one to two years when the potting medium deteriorates.

7. Orchid Nutrition: Orchids need specialized orchid fertilizer for optimal growth. Follow a suitable fertilization schedule based on your orchid’s requirements.

8. Tailor Care to Species: Different orchid species have unique care needs. Adapt your care approach to your specific orchid to promote healthy growth and abundant blooms.

By focusing on these 8 key areas, you can avoid common mistakes and create an environment in which your orchids flourish with their captivating beauty.

What Should You Not Do With An Orchid?

Caring for orchids is a delicate and rewarding endeavor, but it’s important to know what not to do to ensure their well-being. Let’s explore the “do not” aspects of orchid care in a more free-flowing text format:

First and foremost, avoid overwatering your orchids. These plants don’t appreciate constantly wet conditions, which can lead to root rot. It’s best to let the top layer of the potting medium dry out between waterings. However, don’t swing to the other extreme by underwatering, as orchids need adequate moisture to grow and bloom. When it comes to watering, it’s crucial to use lukewarm water, ideally at room temperature. Orchids are sensitive to extreme temperature changes, and using very cold water for watering can shock the plant. Furthermore, steer clear of using softened water, which contains salts that can harm orchids. Stick to distilled or rainwater for their care.

Proper drainage is another vital aspect. Orchid pots should have drainage holes to prevent waterlogged roots, which can be detrimental to the plant’s health. Resist the temptation to overcrowd your orchids. Planting multiple orchids in one pot can lead to overcrowding and resource competition. Each orchid should have its own space to grow. Repotting should be done sparingly. Orchids don’t need frequent repotting; typically, it’s required every one to two years when the potting medium has deteriorated.

orchid, dendrobium, purple-172206.jpg

Why Can’t You Touch Orchids?

Orchids are not to be handled or touched unnecessarily because their delicate nature makes them sensitive to human contact. Here are a few reasons why touching orchids should be avoided:

  1. Oils and Residue: Our hands naturally contain oils, dirt, and residue. Touching orchid leaves or flowers can transfer these substances, which might hinder the plant’s ability to photosynthesize or even lead to fungal or bacterial growth on its delicate surfaces.
  2. Injury: Orchids have fragile, thin leaves and petals that can be easily damaged by touch. Physical contact can result in bruising, tearing, or even breaking of these delicate structures.
  3. Disease Transmission: Orchids can be susceptible to diseases, and touching them with hands that have come into contact with other plants might introduce pathogens that could harm the orchid.
  4. Natural Protection: Orchids have evolved to protect themselves from potential threats. Some species have tiny hairs or spines on their leaves and stems to deter herbivores or pests. Touching the plant might disrupt these natural defenses.

While it’s generally best to minimize physical contact with orchids, when necessary, be sure to handle them with clean hands or gloves to reduce the risk of transferring oils, dirt, or potential pathogens. Orchids thrive when left undisturbed, so it’s advisable to appreciate their beauty from a distance.

orchid, flower, blossom-2952074.jpg

Where To Keep Orchids In Winter

During the winter months, it’s crucial to create the ideal environment for your orchids to flourish. Here’s how to care for them during this season:

Temperature: Orchids generally prefer slightly cooler temperatures in the winter. Keep them in a location where the temperature doesn’t drop below 55°F (13°C) for most common orchid types. Avoid prolonged exposure to cold, which can harm the plants. A comfortable room temperature for you is often suitable for orchids.

Light: Orchids still require light during the winter, albeit at a lower intensity than in the summer. Place them in areas with bright, indirect light. East or west-facing windowsills are excellent options. You can also supplement natural light with artificial grow lights.

Humidity: Indoor heating systems can reduce humidity levels, which may be challenging for orchids. Use a humidity tray, a room humidifier, or mist your orchids regularly to maintain adequate humidity.

Watering: Adjust your watering frequency during winter. With lower light levels and cooler temperatures, orchids typically need less frequent watering. Allow the top layer of the potting medium to dry out slightly before watering, usually every 7-10 days. Adapt the schedule based on your specific orchid type and home conditions.