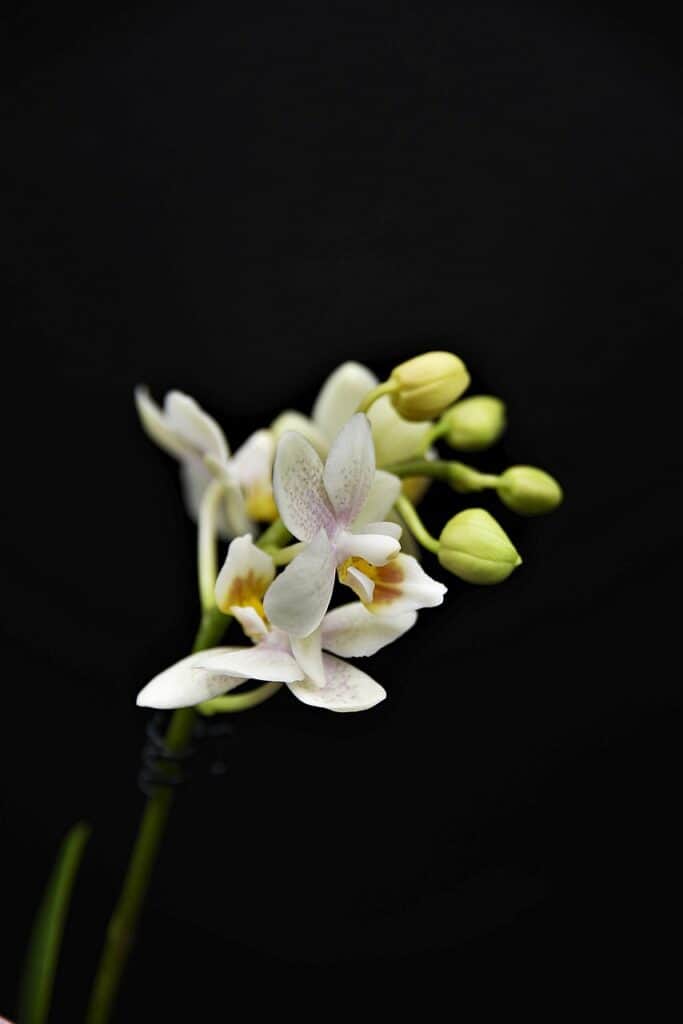
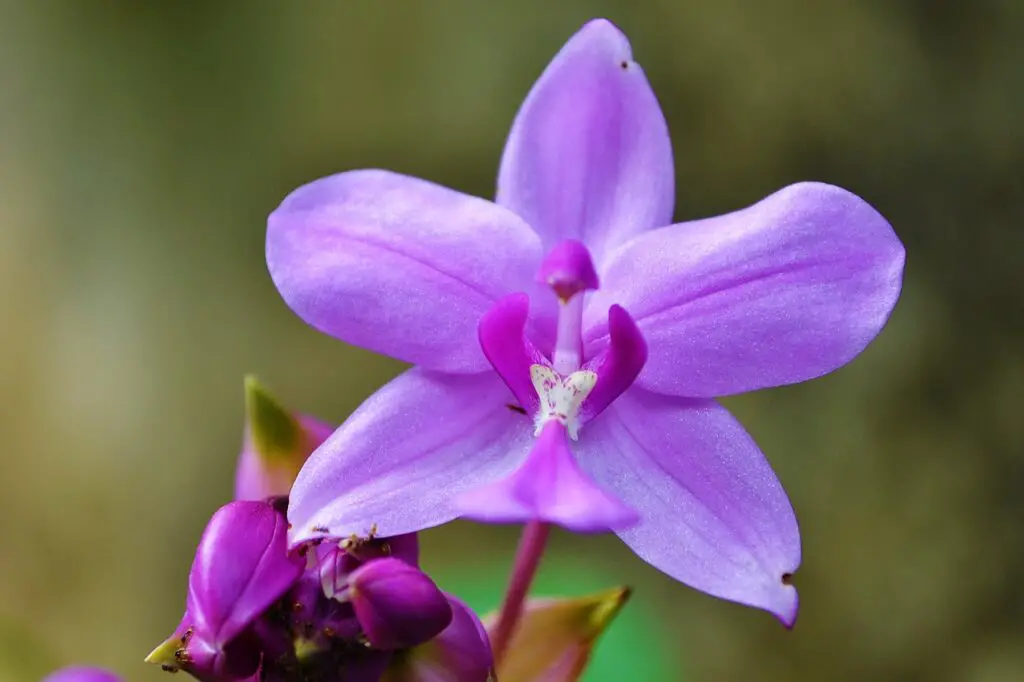
Orchid pruning, a critical aspect of orchid care, is often surrounded by apprehension and uncertainty. Mastering the art of pruning is essential for maintaining the health and beauty of these exquisite plants. This article delves into various techniques of orchid pruning, from trimming roots to caring for the plant post-flowering. Understanding these methods not only ensures the longevity of your orchids but also enhances their blooming potential, making your gardening experience both rewarding and enjoyable.
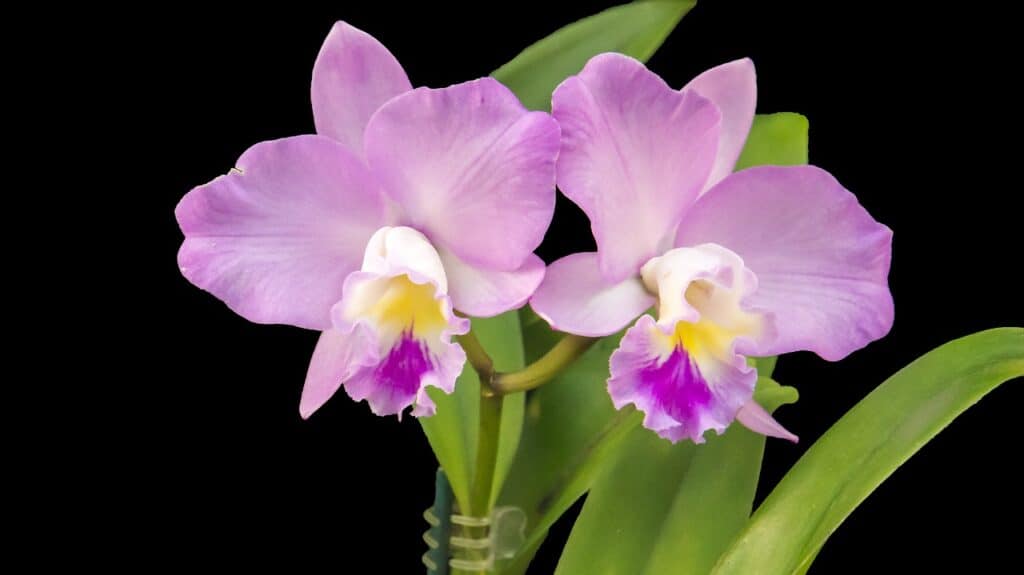
Orchid Pruning Techniques
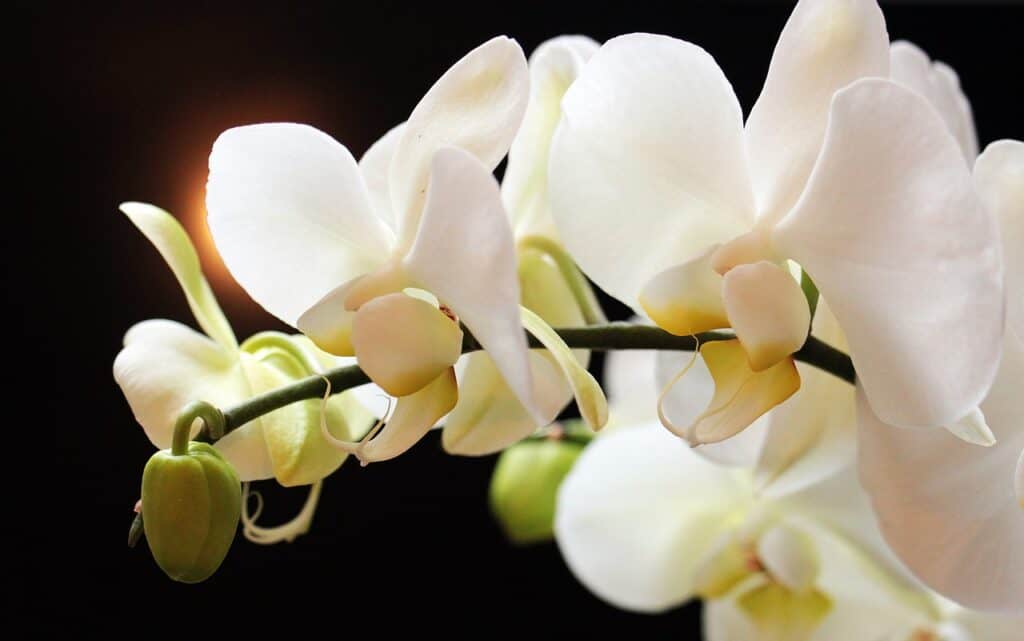
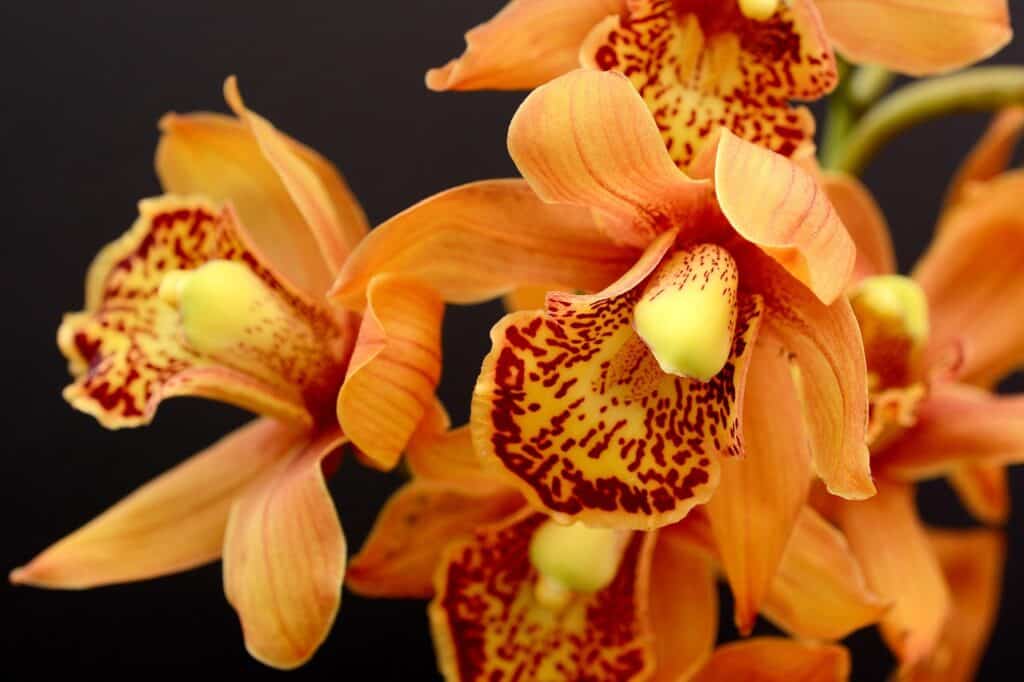
Pruning orchids is essential for their health and aesthetic appeal. The primary goal is to remove dead or damaged parts, which helps prevent disease and stimulates new growth. The best time to prune is immediately after blooming when the orchid enters its resting phase. Use sterilized scissors or pruning shears, and make clean cuts to avoid damaging the plant. It’s important to prune any yellow or brown leaves, as well as dead stems. For flowering orchids, cutting back the spike to the node below the lowest flower can encourage a second bloom.
How to Prune Orchid Roots
Healthy roots are vital for a thriving orchid, and pruning them is a delicate task. Root pruning should be done during repotting, which is typically every two to three years. Remove the orchid from its pot and gently shake off the old potting medium. Inspect the roots and trim away any that are rotten, mushy, or dried out, using sterilized cutting tools. It’s crucial to leave healthy green or white roots intact. After pruning, repot the orchid in fresh potting medium, ensuring not to bury the crown of the plant.
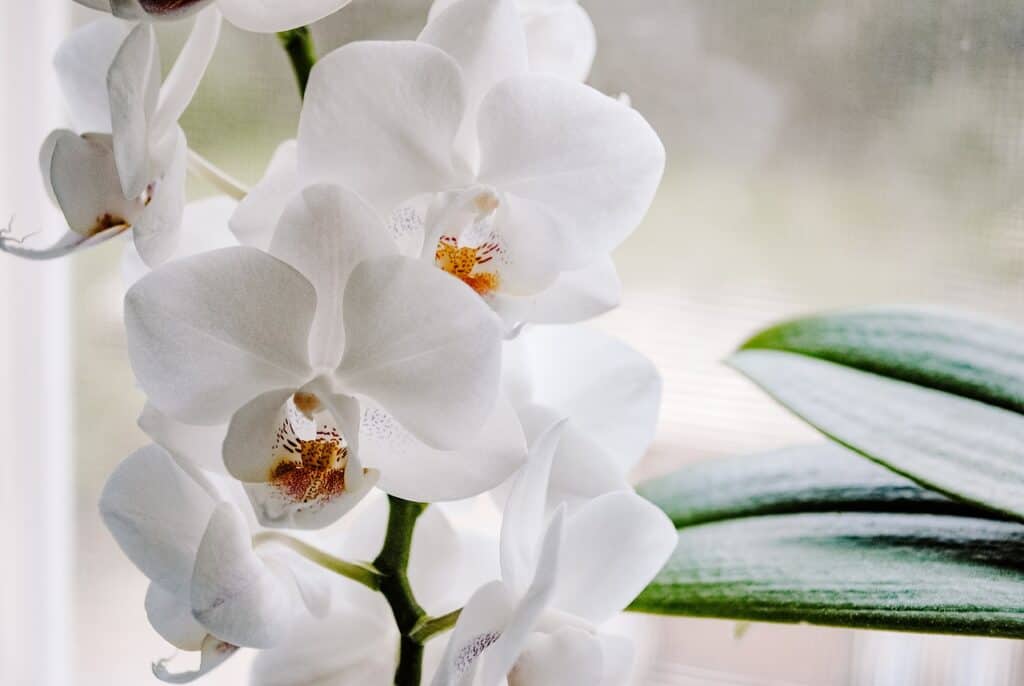
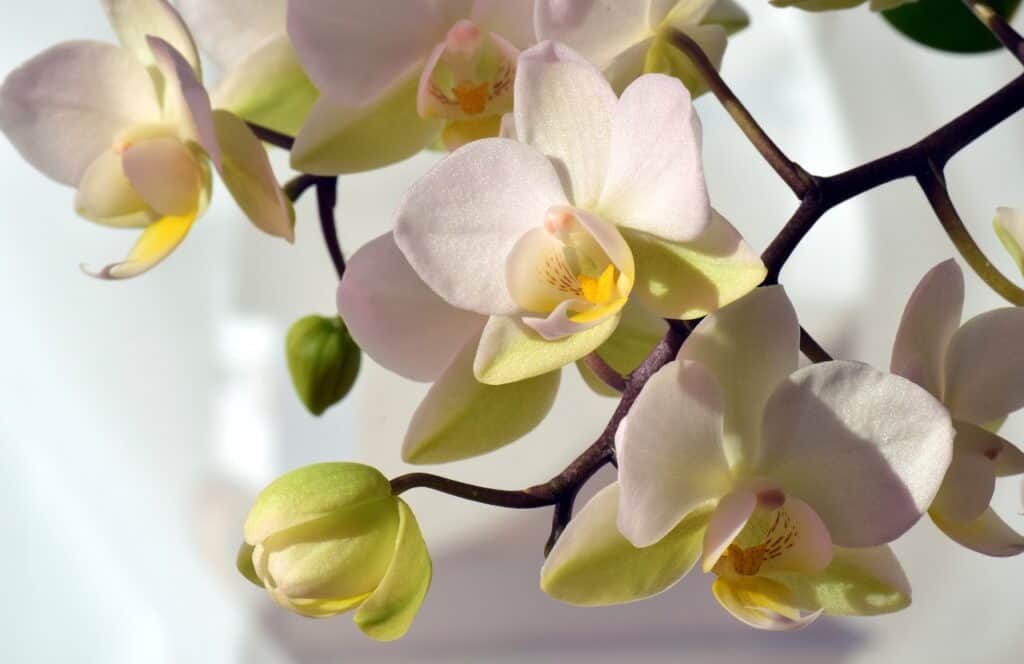
How to Prune Orchids After Flowering
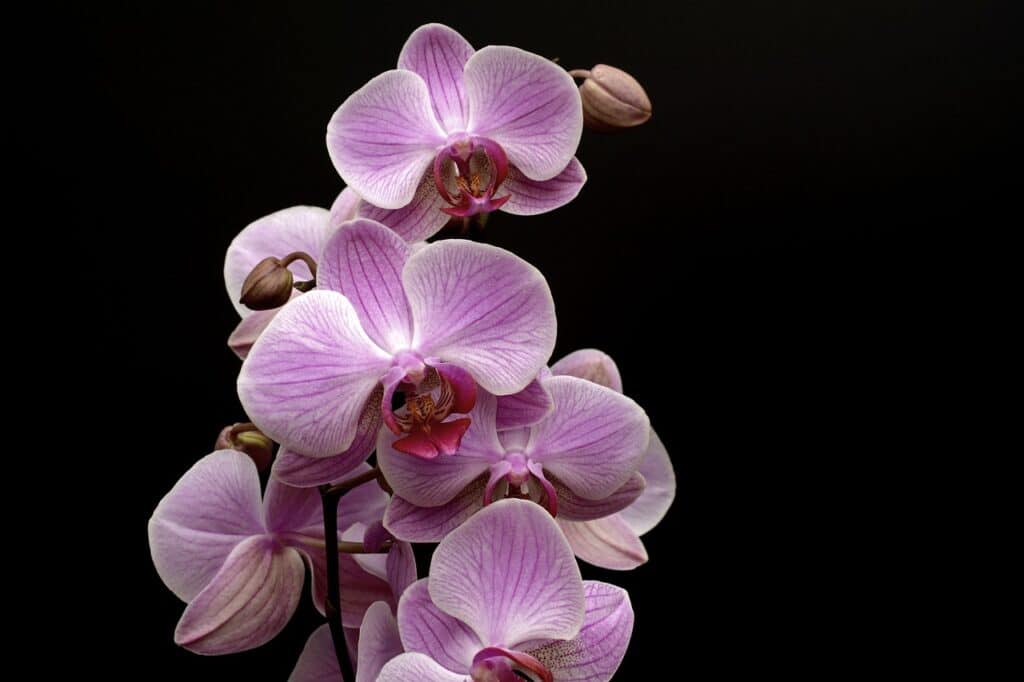
Post-flowering care is critical for orchids. Once the flowers fall, assess the spike. If it’s still green, cut it above a visible node, leaving at least two nodes on the stem. This might stimulate a secondary bloom. If the spike is brown and dry, cut it down at the base. After pruning, focus on providing the right care during the orchid’s resting phase – adequate light, humidity, and reduced watering. This rest period is vital for the orchid to gather energy for the next blooming cycle.

Double Spike Orchid Trimming
Double spike orchids, which produce two flower spikes, require special attention during pruning. If both spikes are healthy, you can choose to prune one spike for a second bloom while allowing the other to die back naturally. This method can extend the blooming period. If one spike starts to yellow or wilt, prune it back to the base, leaving the healthy spike. Always use sterilized tools for trimming to prevent the spread of disease.
Related FAQs
Q: When is the best time to prune orchids?
The ideal time for pruning orchids is after the blooming period, during the plant’s resting phase.
Q: How often should orchids be pruned?
Orchids should be pruned as needed, typically after each flowering cycle and during repotting for root pruning.
Conclusion
Pruning is a vital aspect of orchid care, crucial for their health and flowering success. Whether it’s trimming roots, cutting back spent flower spikes, or caring for double spike orchids, each step in the pruning process plays a role in the plant’s lifecycle. With the right techniques and a gentle touch, gardeners can ensure their orchids remain vibrant and flourish year after year, bringing beauty and satisfaction to any indoor garden.