How To Get Rid Of Yellow Mold In Houseplant Soil

soil, compost, farm-918006.jpg
Home » houseplant care

If you’ve ever noticed yellow mold growing in your houseplant soil, you may be wondering what causes it and how to get rid of it. Yellow mold, also known as yellow fungus, is a type of mold that can grow in damp, humid conditions. While yellow mold is not necessarily harmful to plants, it can cause them to become stunted or unhealthy. In this blog post, we’ll discuss the reasons why yellow mold grows in houseplant soil, how to prevent it from growing, and how to get rid of it if it does appear.

geranium, plant, medicine-4287012.jpg

Reasons Why Yellow Mold Grows in Houseplant Soil

Yellow mold, or Stachybotrys chartarum, thrives in warm, moist environments. It is often found growing on wet organic matter, such as wood or paper. In order to grow, yellow mold needs a food source and access to oxygen.

The Ideal Conditions for Yellow Mold Growth

-Warm temperatures between 77-86 degrees Fahrenheit

-High humidity levels between 70-90%

-A food source, such as dead leaves or rotting wood

-Access to oxygen

These conditions are often found in homes, which is why yellow mold is a common problem in households. If you have houseplants, it’s important to be aware of the conditions that yellow mold needs in order to grow.

The Risks of Yellow Mold Growth in Houseplants.

While yellow mold is not necessarily harmful to humans, it can be detrimental to your houseplants. Yellow mold can cause your plants to become stunted or discolored and can eventually kill them if left unchecked. In addition, yellow mold releases spores into the air which can cause respiratory problems in humans if inhaled. For these reasons, it’s important to take steps to prevent yellow mold growth in your houseplants and remove it promptly if it does occur.

How to Prevent Yellow Mold Growth in Houseplants

Yellow mold thrives in moist, humid conditions with little airflow. The best way to prevent yellow mold growth is to create an environment that is inhospitable to mold growth.

Here are some tips for preventing yellow mold growth:

-Keep your houseplants in a well-ventilated area with plenty of airflows.

-Avoid overwatering your plants. Allow the top inch of soil to dry out before watering again.

-Don’t let water collect in the saucer under your plant pot. Empty it out after each watering.

-Choose a potting mix that drains well and doesn’t stay soggy.

-If you live in a humid climate, consider using a dehumidifier in the room where your plants are kept.

How to Get Rid of Yellow Mold in Houseplant Soil

There are a few different methods that can be used to remove yellow mold from houseplant soil. One is to simply remove the affected soil and replace it with fresh, clean soil. This is often the easiest and most effective way to get rid of yellow mold.

Another method is to treat the affected soil with a fungicide or other anti-mold product. These products are available at most garden or home improvement stores. Be sure to follow the directions on the label carefully, as some products can be harmful to plants if used improperly.

If the yellow mold has spread throughout the plant, it may be necessary to destroy the plant in order to prevent the spread of mold spores. This should be considered a last resort, as it will obviously kill the plant. If you must destroy a plant due to yellow mold, be sure to dispose of it properly so that other plants are not affected.

soil, compost, farm-918006.jpg

Conclusion

If you have yellow mold growing in your houseplant soil, don’t despair. There are several things you can do to get rid of it and prevent it from coming back. First, make sure to keep the soil dry and well-aerated. Yellow mold thrives in moist conditions, so by keeping the soil dry you will make it less hospitable for the mold. Second, avoid over-watering your plants. Water only when the soil is dry to the touch and never allow the plant to sit in water. Third, if you do see yellow mold starting to form, remove it immediately. You can do this by carefully scooping out the affected soil and disposing of it in a plastic bag. Finally, remember that yellow mold is not harmful to humans or animals, so there is no need to panic if you see it growing in your plant’s soil.

Umbrella Plant Propagation: The Ultimate How-To Guide

Home » houseplant care

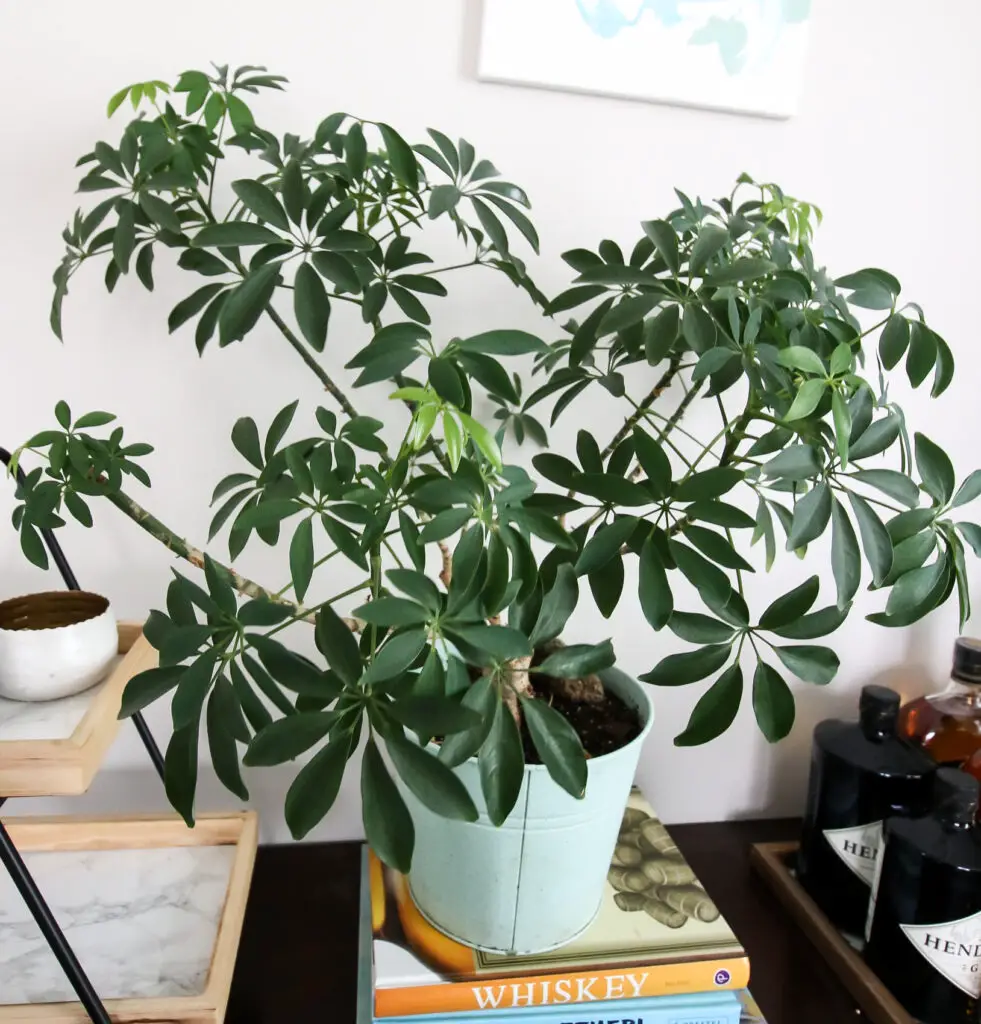
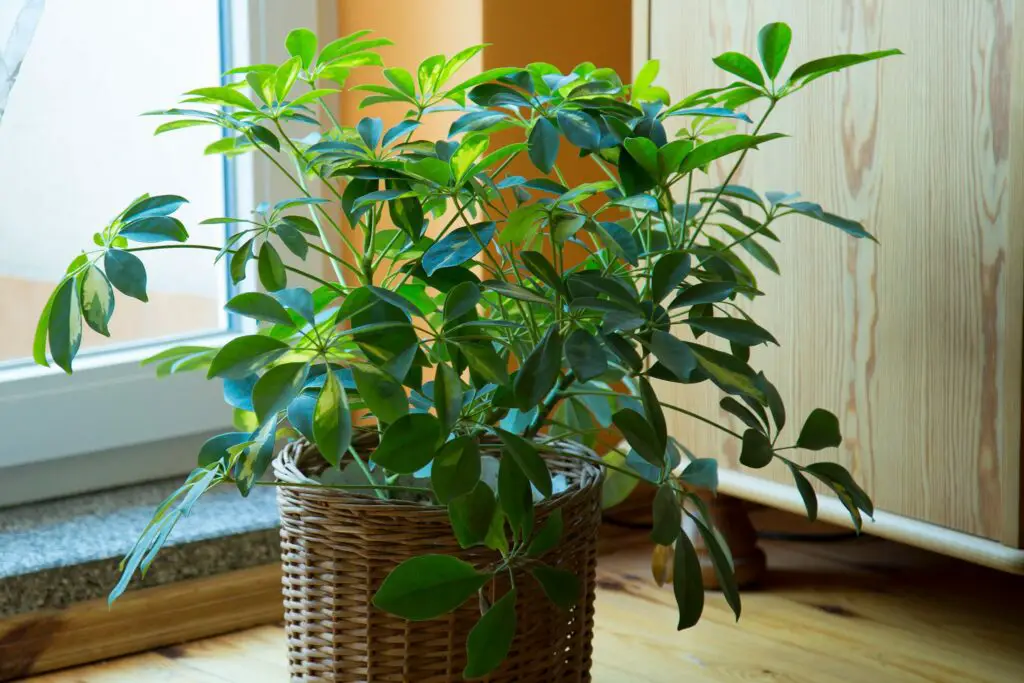
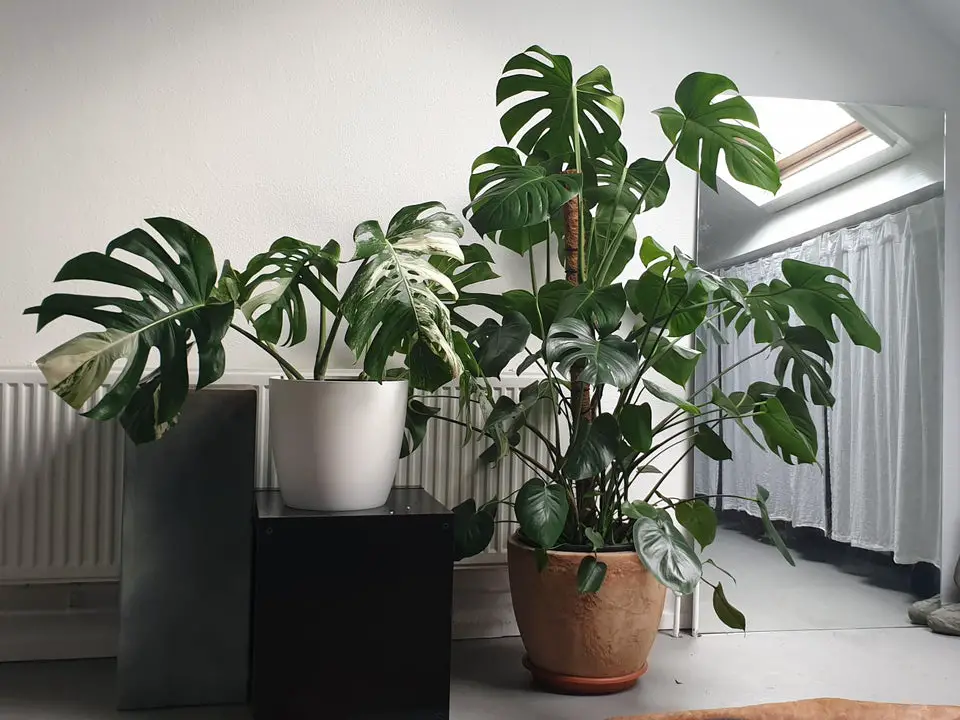
Umbrella plants are versatile and easy-to-care-for houseplants that can add a touch of tropical flair to any indoor space. And while they’re often seen as a single plant in a pot, did you know that umbrella plants can also be propagated?

That’s right – with just a little bit of know-how, you can multiply your umbrella plant collection without having to buy new plants! Not only is propagating umbrella plants a great way to save money, but it also allows you to create custom plants that are specifically tailored to your own personal taste and style.

So, if you’re interested in learning how to propagate umbrella plants, then this is the ultimate guide for you! We’ll cover everything from the different methods of propagation to the best time of year to do it, as well as how to care for your newly propagated plants.

The Benefits of Propagating Umbrella Plants

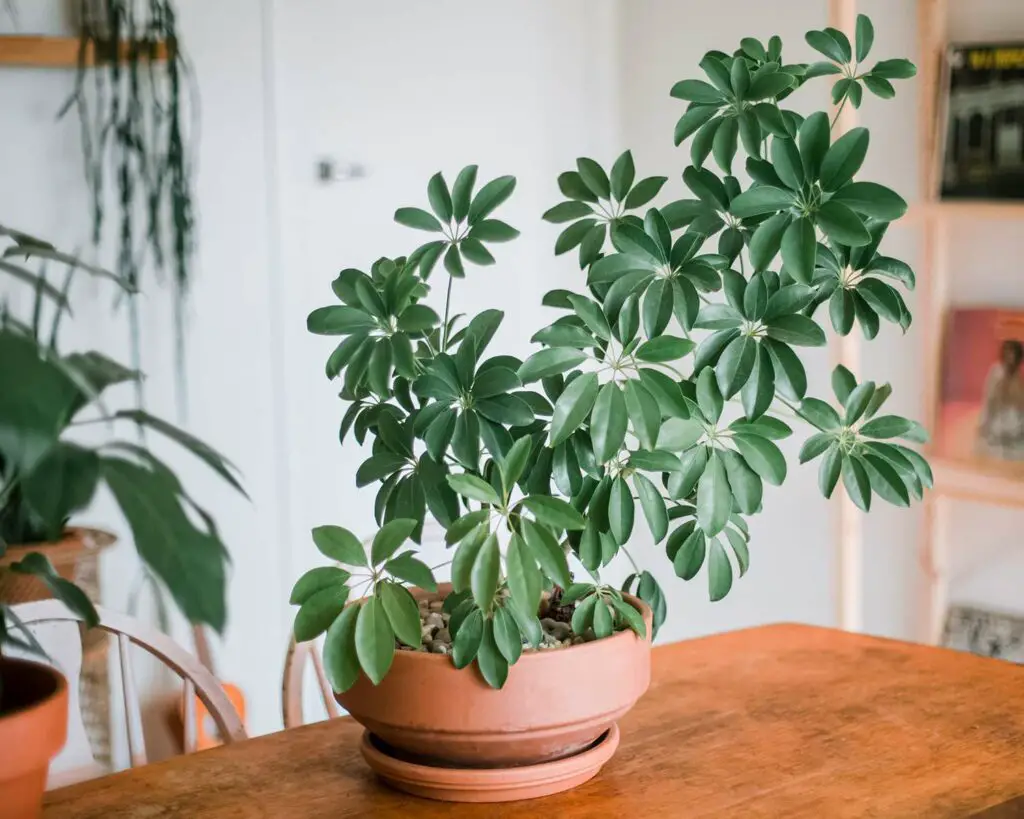
Umbrella plants are known for their versatility. They can be grown in a wide range of climates and soil types, and they are relatively low-maintenance. Propagating umbrella plants can give you even more options for where and how to grow them. For example, if you propagate an umbrella plant from seed, you can grow it as an annual in colder climates where the plant would not survive the winter outdoors. Or, if you propagate from cuttings, you can create new plants that are identical to the parent plant, which is especially useful if you have a particularly hardy or disease-resistant specimen.

Increased Fertility.

Another benefit of propagating umbrella plants is that it can increase the fertility of the parent plant. This is because when a plant produces seeds, each seed contains only half of the genetic material of the parent plant (the other half comes from the pollen of the male flower). When two plants with different genetics are crossed (i.e., when they self-pollinate or are pollinated by another plant), the resulting offspring often have increased vigor and fertility compared to either parent plant. If you propagate your own umbrella plants from seed, you can take advantage of this effect by carefully selecting which plants to cross-pollinate.

Increased Pest and Disease Resistance.

Finally, propagating your own umbrella plants can also help to increase pest and disease resistance in your overall planting. This is because when you propagate from seed, each new generation of plants has the potential to be slightly different from the previous one. As a result, some individual plants may be better able to resist pests or diseases than others. Over time, as these more resistant individuals are selected for propagation, the overall population becomes more resistant to pests and diseases as well.

The Different Methods of Propagating Umbrella Plants

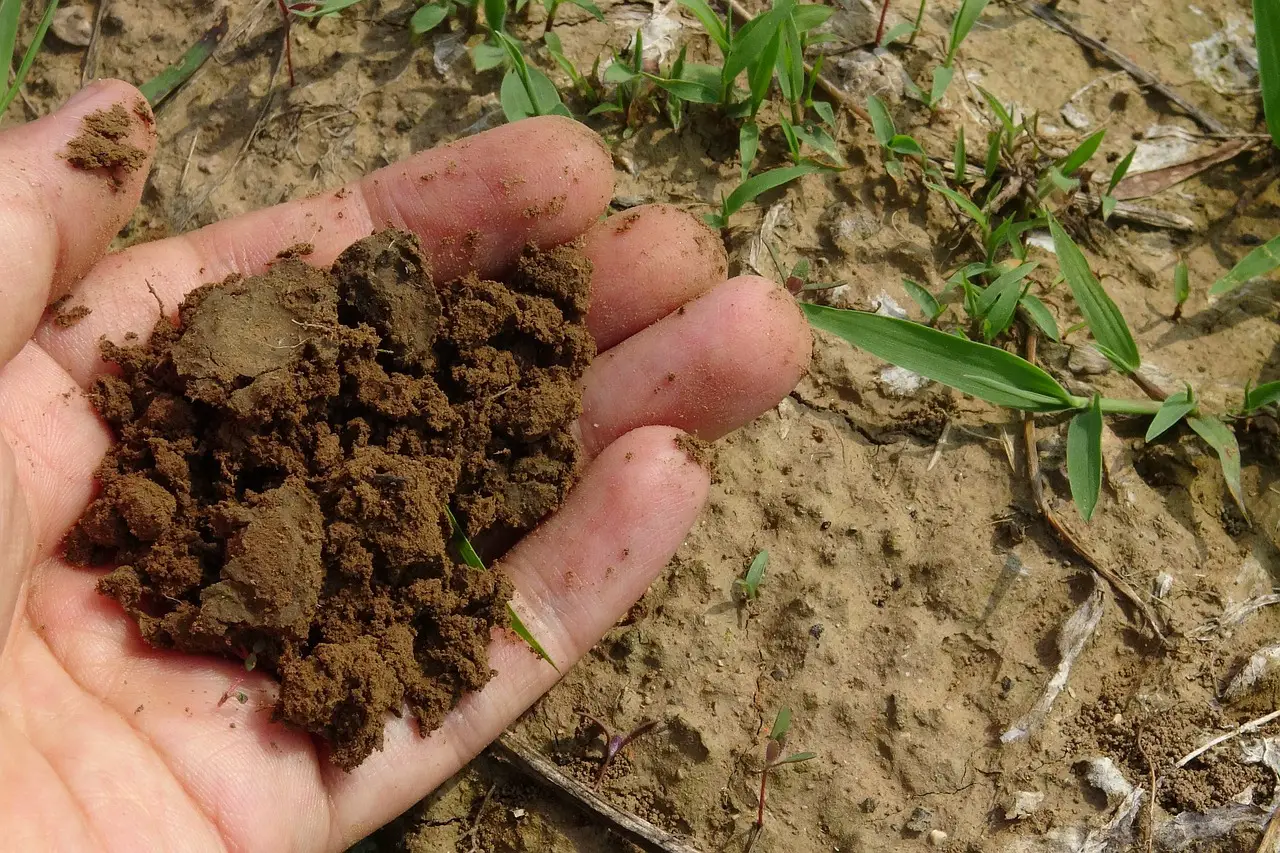
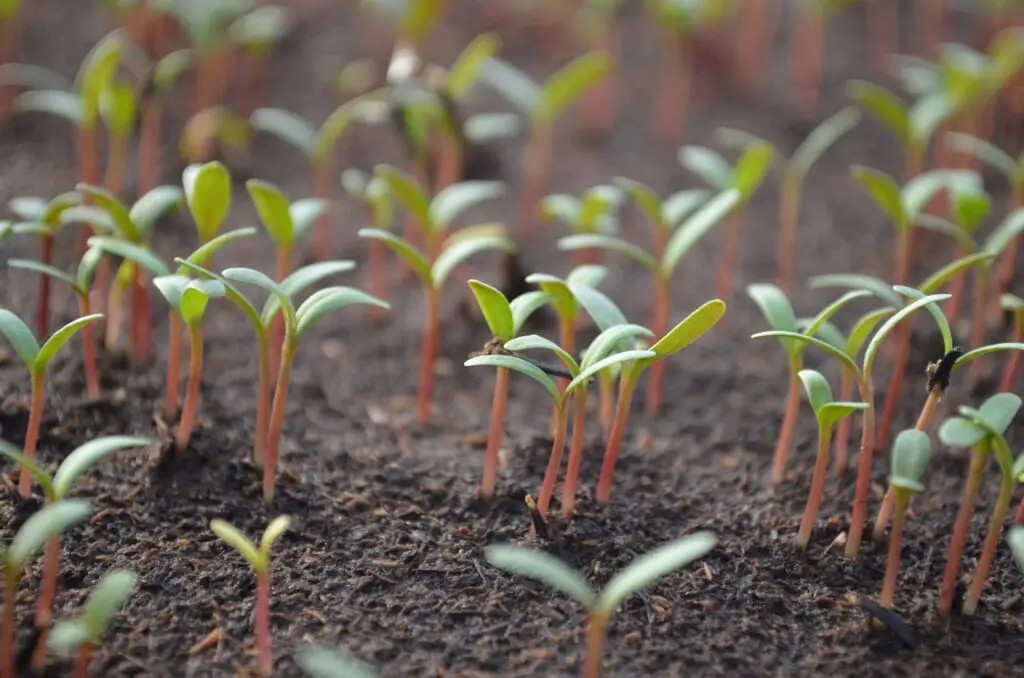
The most common method of propagating umbrella plants is through seed propagation. This can be done by collecting the seeds from the plant or purchasing them from a nursery. To propagate from seed, sow the seeds in a well-draining potting mix and keep them moist until they germinate. Once the seedlings have emerged, thin them out so that only the strongest ones remain. Give the seedlings plenty of light and water them regularly.

Cuttings Propagation.

Cuttings propagation is another popular way to propagate umbrella plants. To do this, take 4-6 inch cuttings from new growth on the plant and strip off the bottom leaves. Dip the cuttings in rooting hormone and then plant them in a well-draining potting mix. Keep the soil moist and give the cuttings plenty of light until they have rooted. Once they have rooted, you can transplant them into their own pots and care for them as you would any other plant.

Air Layering Propagation.

Air layering is a third method of propagating umbrella plants. To air layer, choose a healthy branch on the plant and make a slit in the bark about halfway down its length. Apply rooting hormone to the exposed area and then wrap it tightly with moist sphagnum moss or peat moss. Keep the moss moist and wait for roots to form, which usually takes 4-8 weeks. Once roots have formed, you can carefully remove the branch from the parent plant and pot it up in its own pot.

The Best Time to Propagate Umbrella Plants

One of the best times to propagate umbrella plants is during early spring. This is because the weather is usually milder and there is more daylight, which helps encourage new growth. Additionally, many plants are just beginning to come out of dormancy during this time, so they are more likely to take root and grow successfully. To propagate during early spring, simply follow the instructions for your chosen method of propagation (seeds, cuttings, or air layering) and be sure to water regularly.

Late Summer.

Another good time to propagate umbrella plants is late summer. This is because the days are shorter and the temperatures are cooler, which can help reduce stress on the plant and promote root growth. Additionally, many plants are still actively growing during this time, so they are more likely to take root and grow successfully. To propagate during late summer, simply follow the instructions for your chosen method of propagation (seeds, cuttings, or air layering) and be sure to water regularly.

How to Propagate Umbrella Plants from Seeds

To obtain seeds from an umbrella plant, allow the flowers to bloom and go to seed. Once the flowers have dried up and turned brown, cut the flower heads off and place them in a paper bag. Label the bag with the date collected and store it in a cool, dry place until ready to sow.

Sowing the Seeds.

To sow umbrella plant seeds, fill a small pot or tray with a quality seed-starting mix and moisten it with water. Gently shake the paper bag containing the seeds over the surface of the soil, then lightly press them into the mix. Place the pot or tray in a warm location out of direct sunlight and keep the soil moist but not soggy. Seedlings should appear within two to four weeks.

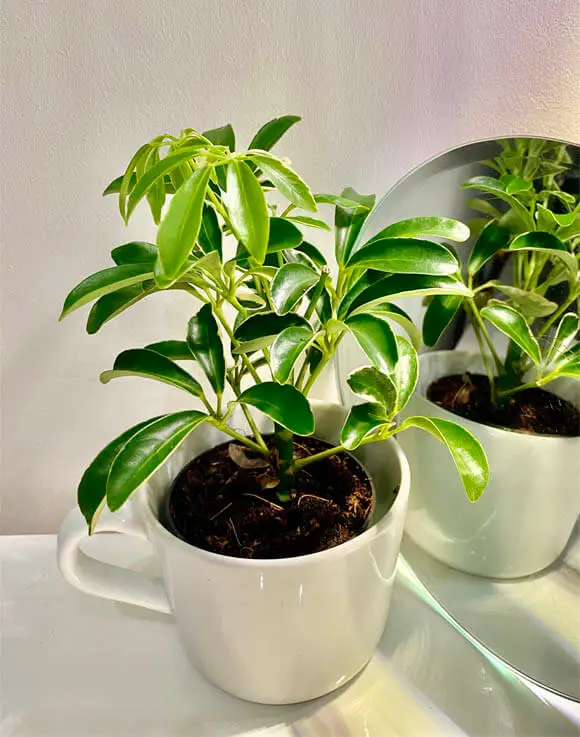
Caring for Seedlings.

Once seedlings have appeared, thin them so that only one or two per pot remain. Continue to water regularly, keeping the soil moist but not soggy. When seedlings are large enough to handle, transplant them into individual pots filled with quality potting mix. Allow at least six inches of space between each plant for proper growth.

How to Propagate Umbrella Plants from Cuttings

To propagate umbrella plants from cuttings, you will need to take stem cuttings from an existing plant. It is best to take the cuttings in late spring or early summer when the plant is actively growing. You will want to choose a healthy portion of the plant that has new growth. Cut off a 4-6 inch section of stem with a sharp knife or pruning shears. Make sure to make the cut just below a leaf node (the point on the stem where leaves are attached).

Preparing the Cuttings.

Once you have your cutting, remove any lower leaves so that only 2-3 leaves remain at the top of the cutting. These leaves will help provide energy for new root growth. Dip the cutting in rooting hormone powder or gel to encourage root formation, then plant it in moistened potting mix or perlite. Be sure to keep the cutting warm and moist while its roots – a clear plastic bag placed over the pot can help create a humid environment.

Rooting the Cuttings.

It can take 4-8 weeks for umbrella plant cuttings to develop roots and be ready to transplant into their own pots. You will know they are ready when you see new growth appearing at the leaf nodes and when you can gently tug on the cutting and feel resistance (indicating that roots have formed). Once your cuttings are rooted, carefully transplant them into individual pots filled with well-draining potting mix or perlite, and water them well.

Caring for the Rooted Cuttings.

Rooted umbrella plant cuttings need bright indirect light and consistent moisture levels to thrive – too much sun or too little water can cause them to wilt quickly. Allow the soil to dry out slightly between waterings, and fertilize monthly with a balanced fertilizer during their first growing season after transplanting. After that, you can reduce fertilization to once every other month during the spring and summer months.

How to Propagate Umbrella Plants via Air Layering

When choosing a branch to air layer, look for one that is healthy and has several leaves. The branch should be about the thickness of a pencil. If the branch is too thin, it may not be able to support the weight of the air layer. If the branch is too thick, it will be difficult to wrap.

Making the Slit.

Make a slit in the bark of the chosen branch about 8 inches from the tip. The slit should be about ¼ inch deep and ½ inch wide. Be careful not to cut into the wood of the branch.

Applying the Rooting Hormone.

Apply rooting hormone to the exposed area of wood inside the slit. You can use a powder, gel, or liquid rooting hormone. Follow the directions on the packaging for how much to use.

Wrapping the Branch.

Wrap the entire section of the branch below the slit with moist sphagnum moss, plastic wrap, or aluminum foil, being sure to keep it snug against the bark so that no light can reach the cut surface of the slit. You can secure the wrap with twist ties, tape, or staples if necessary. Make sure that the material you use is moisture-retentive but not waterlogged . You may need to mist the moss periodically to keep it moist.

Caring for The Air Layer

The air layer will take several weeks or months to develop roots depending on conditions such as temperature and humidity. Once roots have formed, you can carefully remove the air layer from the parent plant and pot it up. Keep the newly potted air layer out of direct sunlight and water it as needed to keep the soil moist but not soggy until it becomes established.

How to Care for Propagated Umbrella Plants

It is important to water umbrella plants thoroughly and regularly, especially during the hot summer months. Allow the top inch or so of soil to dry out between watering. If the leaves start to droop, that is a sign that the plant needs more water. Be careful not to over-water, as this can lead to root rot.

Fertilizing.

Umbrella plants should be fertilized every two weeks during the spring and summer growing seasons, using a diluted all-purpose fertilizer. Once the plant starts to produce flowers, you can switch to a fertilizer that is high in phosphorus, such as bone meal or bloom booster fertilizer. In the fall and winter, cut back on fertilizing to once a month.

Pruning.

Pruning is not necessary for umbrella plants, but if you want to control their size or shape, you can prune them after they finish blooming in late summer or early fall. To do this, simply cut back the stems by a few inches using sharp pruning shears.
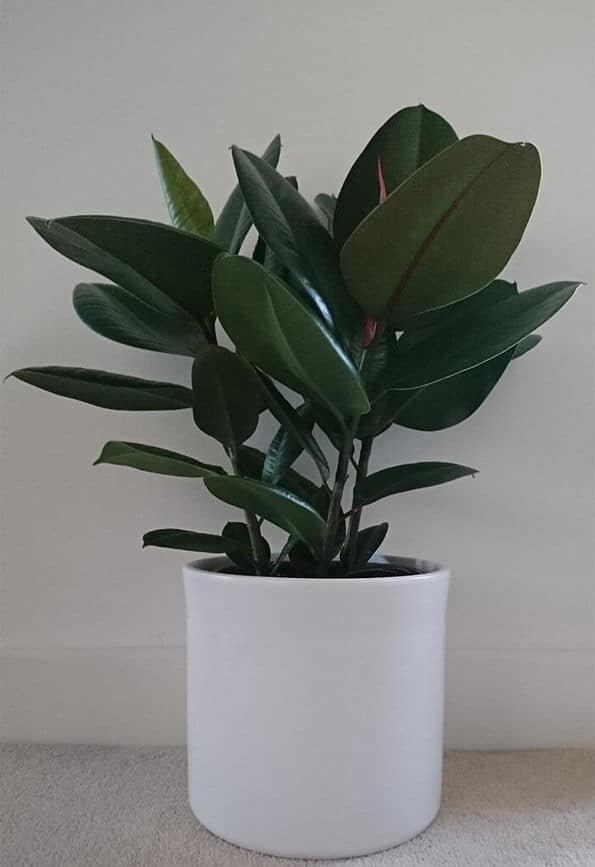
Repotting.

Umbrella plants should be repotted every two years or so, in early spring before they start actively growing again. Choose a pot that is only one size larger than the current pot, and use a fresh potting mix made for tropical plants. Be sure to water well after repotting and keep an eye on the plant for signs of stress such as wilting leaves.

Conclusion

In conclusion, propagating umbrella plants is a great way to increase their versatility, fertility, and pest and disease resistance. There are several different methods of propagation, but the best time to propagate is in early spring or late summer. Seeds can be obtained from mature plants and sown in well-drained soil. Cuttings can be taken from healthy stems and rooted in potting mix. Air layering is also a successful method of propagation and can be done by choosing a healthy branch, making a slit, applying rooting hormone, wrapping the branch, and then caring for the air layer. Once propagated, umbrella plants need to be watered regularly, fertilized monthly, pruned as needed, and repotted every two years.

How To Fix Swiss Cheese Plant Yellow Leaves

Home » houseplant care

If you have a Swiss cheese plant that’s starting to show signs of yellow leaves, don’t worry – there are a few things you can do to fix the problem. In this blog post, we’ll go over some of the most common reasons for yellow leaves on a Swiss cheese plant, as well as some tips on how to keep your plant healthy and green.

tomato, shoots, plant-3919426.jpg

Reasons why your Swiss cheese plant has yellow leaves

When you overwater your Swiss cheese plant, the roots are unable to get the oxygen they need from the soil. This causes the leaves to turn yellow and eventually die. If you think you may be overwatering your plant, let the soil dry out completely before watering again.

Another reason for yellow leaves can be too much direct sunlight.

If your Swiss cheese plant is getting too much sun, the leaves will start to turn yellow. Move your plant to a spot that gets indirect light and see if the leaves start to green up again.

Another reason for yellow leaves can be a nutrient deficiency.

If your plant is not getting enough nutrients, the leaves will start to turn yellow. Make sure you are fertilizing your plant regularly and giving it enough water.

Signs that your Swiss cheese plant needs more water

One sign that your Swiss cheese plant needs more water is if the leaves start to droop. This is a sign that the plant is not getting enough water and is starting to wilt.

Subsection 2.2 Another sign that your Swiss cheese plant needs more water is if the leaves start to turn yellow. This could be a sign of overwatering, but it could also be a sign that the plant is not getting enough water.

If you see either of these signs, it’s important to water your plant immediately.

Swiss cheese plant care tips

Water your Swiss cheese plant when the top inch of the soil is dry.

Subsection 3.3 Keep your Swiss cheese plant in a room with a temperature between 65 and 75 degrees Fahrenheit.

Swiss cheese plants are relatively easy to care for, but there are a few things you should keep in mind to ensure that your plant stays healthy and happy.

Here are some care tips for Swiss cheese plants:

Swiss cheese plants do best in bright, indirect light. If you can, place your plant near a window where it will get plenty of light without being directly in the sun.

Water your Swiss cheese plant when the top inch of the soil is dry. To check if your plant needs water, stick your finger into the soil up to the first knuckle. If the soil is dry, it’s time to water. Be careful not to overwater – see Section 1 for more information on that.

Keep your Swiss cheese plant in a room with a temperature between 65 and 75 degrees Fahrenheit. If it gets too cold or too hot, the leaves may start to turn yellow or brown.

Conclusion

If you’re noticing yellow leaves on your Swiss cheese plant, it’s likely due to overwatering or too much direct sunlight. Be sure to let the soil dry out completely between waterings, and move your plant to a spot with indirect light if it’s in too much sun. With proper care, your Swiss cheese plant will thrive!

How To Get Rid Of Brown Spots On Houseplant Leaves

If you’re noticing brown spots on the leaves of your houseplants, don’t worry – there are a few things you can do to get rid of them. In this blog post, we’ll cover what causes brown spots on houseplant leaves, how to get rid of them, and how to prevent them from coming back. One of the most common causes of brown spots on houseplant leaves is too much sun. If your plant is in a spot that gets direct sunlight for more than a few hours a day, the leaves can start to scorch and turn brown. 

The best way to get rid of brown spots caused by sunburn is to move your plant to a spot that gets less direct sunlight. If you can’t do that, try covering the leaves with a sheer curtain or piece of fabric to filter out some of the sun’s rays. Another common cause of brown spots on houseplant leaves is pests. If you see small, brown dots on the leaves of your plant, it’s likely that aphids or scale insects are to blame. 

These pests suck the sap out of the leaves, causing them to turn brown and eventually die. To get rid of pests, start by spraying your plant with water to dislodge them. Then, apply an insecticidal soap or neem oil to the leaves, being sure to reach the undersides where the pests are hiding.

Why do brown spots appear on houseplant leaves?

Alternaria is a type of fungus that commonly affects houseplants. The fungus thrives in moist environments, and can cause brown spots to form on the leaves of affected plants. There are a few things that you can do to help prevent Alternaria from affecting your houseplants. First, make sure that you are not overwatering your plants. Second, keep your plants in a well-ventilated area to help reduce the level of humidity. Finally, make sure to remove any dead or dying leaves from your plants, as these can provide a source of food for the fungus.

This disease is often caused by too much moisture on the leaves.

Too much moisture on the leaves of a houseplant can create an ideal environment for the Alternaria fungus to thrive. When the fungus comes into contact with damp leaves, it can cause brown spots to form.

How can you get rid of brown spots on houseplant leaves?

Treat the plant with a fungicide.Make sure the plant gets enough light and air circulation.

If you notice brown spots appearing on the leaves of your houseplants, there are a few things you can do to get rid of them. First, remove all of the affected leaves from the plant. This will help to prevent the spread of the disease to other parts of the plant. Next, treat the plant with a fungicide specifically designed for Alternaria diseases. Be sure to follow the directions on the package carefully. Finally, make sure that your plant is getting enough light and air circulation. Brown spots are often caused by too much moisture, so be sure to water at the base of the plant and keep it in a well-ventilated area.

Preventing brown spots on houseplant leaves.

When watering your houseplants, be sure to water at the base of the plant rather than on the leaves. Watering on the leaves can cause brown spots to form, as this can lead to too much moisture on the leaves.

Keep the plant in a well-ventilated area.

It’s important to keep your houseplants in a well-ventilated area, as this will help to prevent brown spots from forming. Good air circulation will help to dry out any moisture that may be on the leaves, which can prevent the growth of Alternaria (the fungal disease that causes brown spots).

Avoid overcrowding plants.

When potting or repotting your houseplants, be sure to avoid overcrowding them. This is because overcrowded plants can cause poor air circulation, which can lead to brown spots forming on the leaves. To avoid overcrowding your plants, be sure to give them enough space to breathe. This means not packing them too tightly together in their pot or planter. Additionally, be sure to check the drainage of your pots and planters to ensure that water can properly flow through and not pool around your plants’ roots.

Conclusion

If you notice brown spots appearing on the leaves of your houseplants, don’t panic. These spots are usually caused by a fungal disease called Alternaria. The good news is that this disease is relatively easy to treat. Simply remove all affected leaves from the plant and treat it with a fungicide. Make sure the plant gets enough light and air circulation, and water at the base to prevent the fungus from coming back.

FAQ

What Causes Brown Spots On Houseplant Leaves

There are a number of reasons why a houseplant might get brown spots on the leaves. But most commonly it’s about overwatering and too much sun. If the soil is like mud it will negatively impact the plant and cause brown spots.

How Do You Treat Brown Spots

Treating a plant with brown spots, and especially houseplants are best done by cutting off the leaves. That way we can promote the growth of the healthy ones and hopefully we won’t see any more brown spots appearing.

Should I Cut Off Leaves With Brown Spots

We think it’s a good idea to in most cases cut off the leaves with brown spots on them. It also depends on how far it has gone. In the beginning it might be better focusing on the soil and the placement of the plant before starting to cut off leaves.