
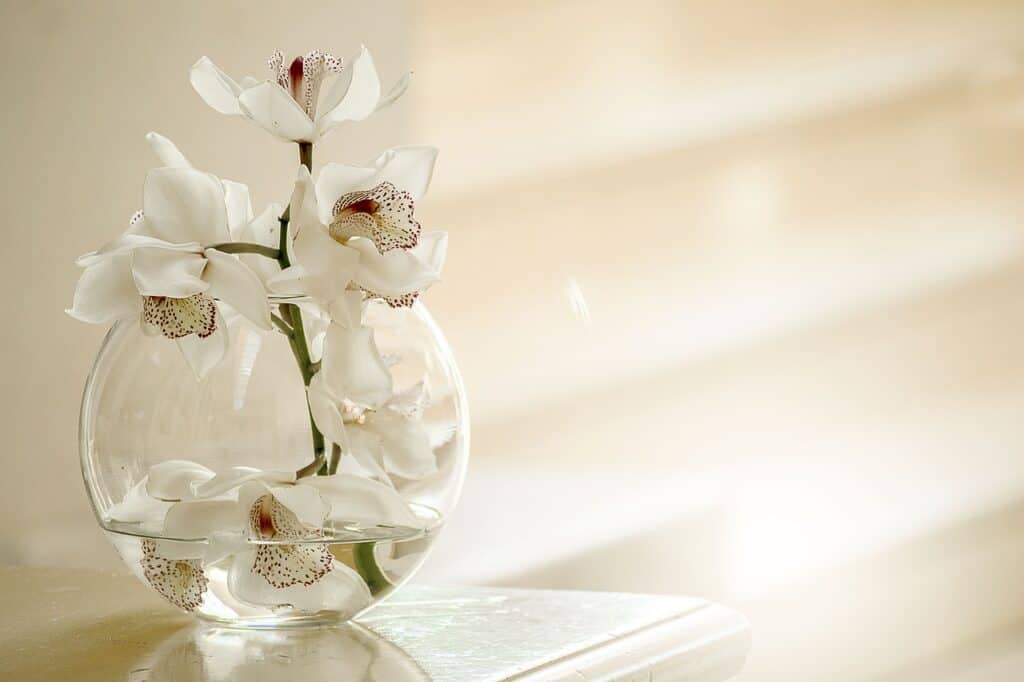
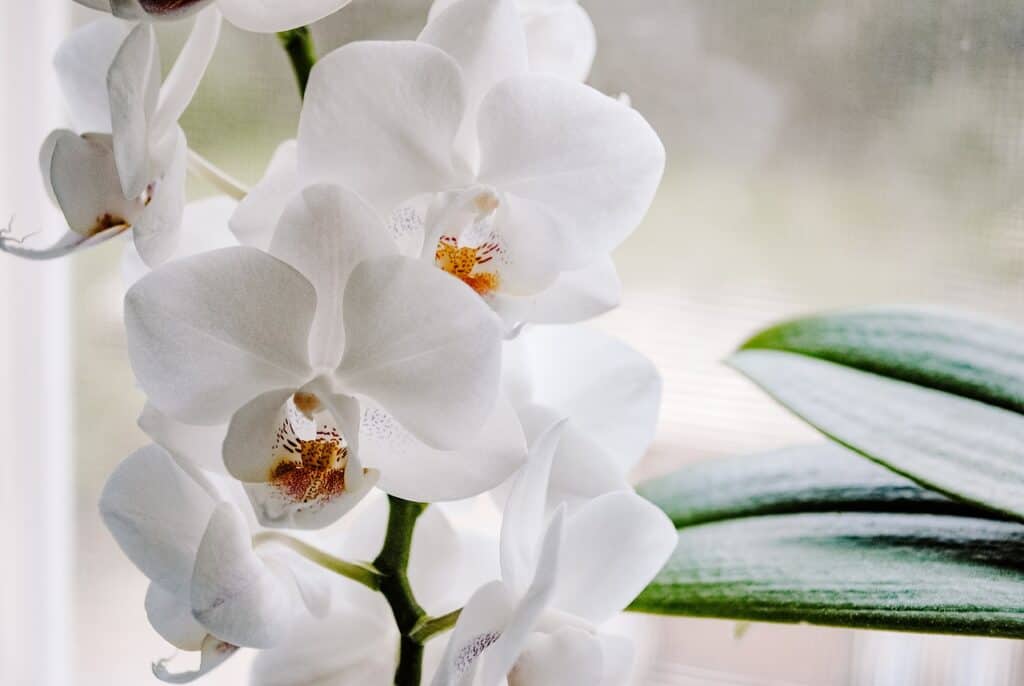
Orchids are one of the most beautiful and exotic plants that you can have in your home. With their unique and delicate beauty, it is no surprise that they are a popular houseplant among many plant lovers. If you have an orchid that has outgrown its current pot or it is showing signs of poor health, the best solution may be to repot it. Repotting an orchid may seem daunting, but it is a simple process that can be completed in a few steps. In this comprehensive guide, we will take you through the steps on how to repot an orchid effectively.
Gather Your Supplies
Before you begin the repotting process, ensure that you have all the necessary tools and equipment you need to complete the process. Here is a list of essential items you will need:
Tools needed
a. A new pot – Choose a pot that is slightly larger than the current pot the orchid is in. The new pot should have drainage holes in the bottom to allow excess water to drain out.
b. Orchid potting mix – Orchid potting mix is a special kind of soil that is designed to be lightweight and to retain moisture but allow for sufficient air circulation. It is made up of a combination of bark chips, perlite, and other organic materials.
c. Sharp scissors or pruning shears – You’ll need these to trim the old roots and any dead or damaged roots.
d. Gloves – Although not mandatory, gloves will protect your skin from any potential irritants or cuts from the plant.
e. A clean surface – Repotting can be a messy process, so ensure that you have a clean and flat surface that you can work on.
f. A watering can – You will need to water the orchid after repotting.
Removing the Orchid from its Current Pot
The first step in repotting an orchid is getting it out of its current pot. This could be a bit tricky, but with the right technique, it will be easy to remove the plant without causing any damage.
Step-by-step instructions
a. Watering: Before removing the orchid from the pot, give it a thorough soak. This will make it easier to remove it from the pot.
b. Wiggle the plant: To remove the orchid carefully, hold the pot firmly in one hand and gently wiggle it to loosen the plant. If it’s still stuck, run a sharp knife around the edge of the pot to loosen the roots.
c. Carefully remove the orchid: Keep holding the plant by the base and gently remove it from the pot. Avoid pulling the plant by the stem or leaves because they are delicate and could easily be damaged.
Preparing the New Pot and Soil Mixture
Now that you have successfully removed the orchid from its old pot, it is time to prepare the new pot and soil mixture.
Understanding the Right Pot and Soil for Your Orchid
a. The right pot – The new pot should be larger than the last pot but not too big that it overwhelms the plant. Orchids prefer a tight fit since it allows the roots to absorb moisture from the potting mix more efficiently.
b. The right soil – Orchids do not grow in regular potting soil but require a specialized mixture that is light and airy. A good orchid potting media should contain bark or timber, perlite, and sphagnum moss. This type of potting media has excellent drainage, allowing the roots of the orchid to breathe.
Repotting your Orchid
Now that you have all the necessary materials, let’s proceed to repot your orchid.
Tips for Handling Your Orchid During Repotting
a. Trim the roots – Gently shake off the old soil and trim any dead, diseased, or rotted roots using disinfected scissors or pruning shears.
b. Fill the pot – Fill one-third of the new pot with the potting media mixture.
c. Place the orchid – Place the orchid in the new pot and gently position its roots in the potting media.
d. Fill the pot – Once the orchid is in place, fill the remaining pot with the potting media until it is level with the top of the pot.
e. Water the orchid – Gently water the orchid to help it settle in the new potting media. Avoid overwatering the plant since this could lead to root rot.
Conclusion
Repotting an orchid can seem intimidating, but it’s an easy process that ensures your plant is healthy and thriving. With the right tools, materials, and a little patience, you can give your orchid a fresh start in a new home. Remember to take precautions when handling the plant and always follow the guidelines for proper watering and care.
