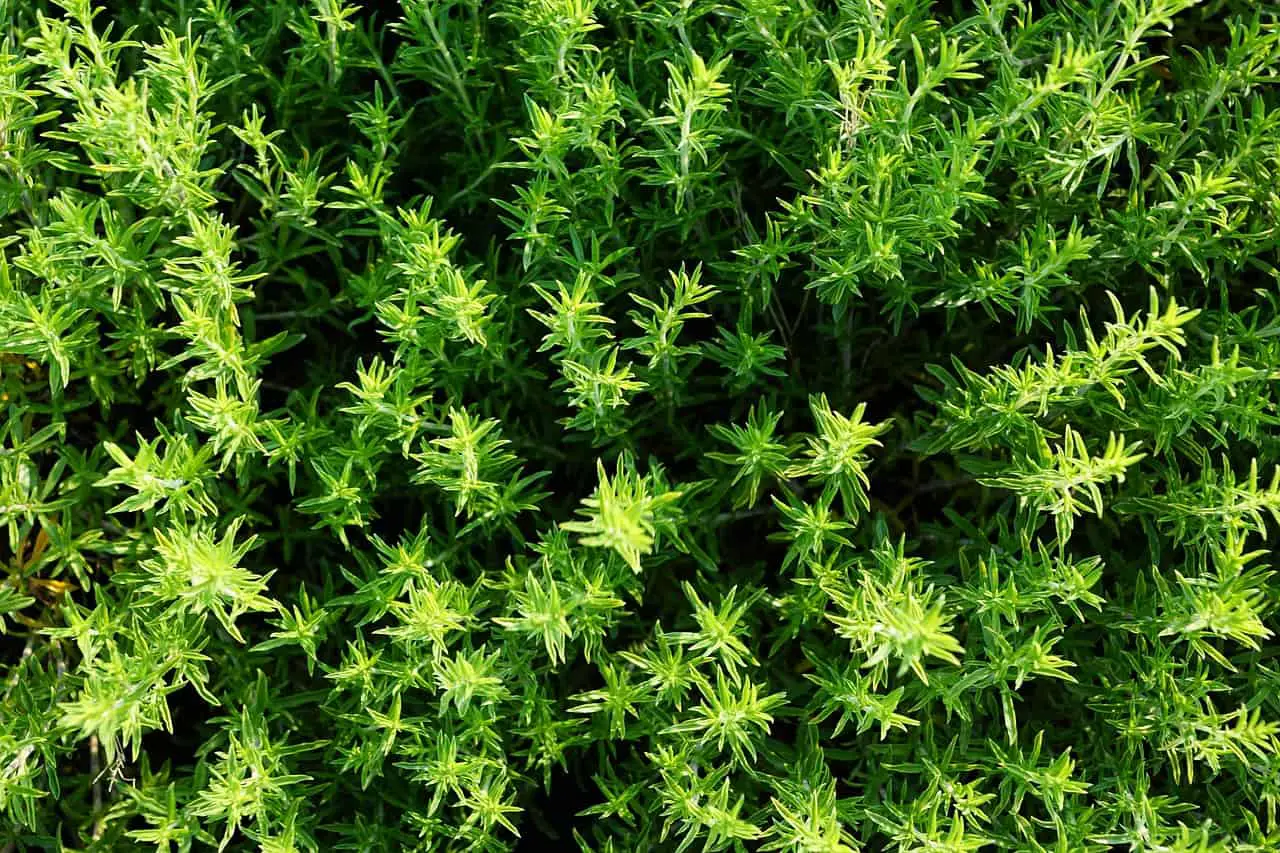

How To Grow Thyme From Seed
Welcome to this post about how to grow thyme from seed. Growing thyme from seed is one of the most fun ways of getting to know all the small and intricate details in growing this lovely herb. A pretty simple herb to learn to grow, but so rewarding.
.
If you want to learn even more about growing thyme and become even more comfortable with it then check out our guide, How To Plant, Grow And Care For Your Thyme.

How To Grow Thyme From Seed
Growing thyme from seed is my favorite way of propagating this fantastic herb, other than taking cuttings then of course. But that’s a whole other topic in and of itself. There are a few things that you will want to take into consideration when growing thyme from seeds and that is what I will cover below.
.
I go by a checklist when wanting to plant new seeds. I want the soil to drain very well. That is achievable by having a not super packed soil and then of course having some holes in the bottom of the container or pot if you want to go that route. Depending on how long frost can last in your part of the world, growing thyme in small containers indoors might be a really good idea to get a headstart on the season.
.
The same rule will apply to seeding both indoors as well as outdoors. You want to sprinkle the seeds above the surface of the soil, let them have at least a couple of centimeters in between them. If you pre pot in a small container then one seed per hole will be enough. After you have put them on,lightly thap each one down or push a little bit of the soil over. This will kick start the process for the seed to start germinating and in about 10 – 20 days you might start seeing the first sign above the surface.
.
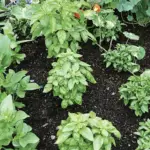
Now we play a waiting game involving letting the thyme fully develop during ideally the whole summer and harden some of the lower parts. I look so that it has bark before trying to cut any sprigs off. This will make me a bit more comfortable doing that as it will most likely be able to handle it better.
.
Have you seen people growing thyme successfully from cuttings indoors and wonder how you can do that? In this article here we will discuss exactly that, How To Grow Thyme Indoors From Cuttings.

How Long Does It Take Thyme To Grow From Seed
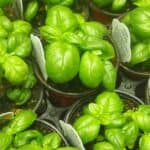
Thyme is not really the fastest herb out ther to grow, especially not compared to the likes of basil for example. After being sown it will take about 10 – 20 days to germinate properly. This is the process of the seed breaking out and starting to develop a small root system that will with time evolve into something very advanced and be the livelihood of your plant. Within a month you will see the first signs of life above the ground. Now small leafs will form and start taking in all the nutrients in both the air but most importantly the sun.
.
From this point it will be growing at a steady pace that should be very manageable. I like to wait until at least summer has passed to start cutting any sprigs and use in cooking. This is because I have found thyme to grow faster if it already has a good base established.
.
Having issues with watering your thyme plant? Do you wish there was a guide to exactly how much they need? In this article here we will discuss presicely that. Find it here, How Often Do You Water Thyme.

Is It Hard To Grow Thyme From Seed
Growing thyme from seed should really not be as hard you might think. What it really comes down to is patience. Thyme is not a fast growing herb that you can just plant and expect a harvest within the next month or so. You are playing the waiting game.
.
The first part of germinating takes about 10 – days and then it will start growing out both above the surface into the shape of a bush and underneath, creating a vast root system. But the only hard part really is re-potting the small seedlings into either freeland or a pot of your choice. That’s probably the most time consuming part.
.
After this step is done then you want to just monitor the thyme and water it every other week or so. It doesn’t require a lot of attention to grow into a nice bush and supplying your kitchen with plenty of tasty herbs and flavors.
.
If you decided to go down the rewarding route of growing your own herbs then just know that it is a good idea to invest time in really getting nice thyme seedlings to re pot. Growing a few extra really doesn’t harm and will be worth it.
.
Want to read even more about the best methods when watering a thyme plant? In this article right here discuss that. Find it here, How Often Should You Water Thyme Seeds.